How to reply quickly using AutoText and Quick Parts in Outlook
To make it easier to work with large volumes of mail, you can create a template and rule for replying to messages, see how to work with templates, and automatically reply to some messages.
In some cases, you can't create a rule for incoming messages due to unusual subjects, etc. So, you need to organize a very quick response and work on the messages later.
Like other Microsoft Office applications, Outlook offers a feature called AutoText that allows you to insert a block of text with one click.
AutoText is a common type of Building Blocks frequently reused and included in the Quick Part Gallery. Once an AutoText has been created, it can be quickly added to a message to help save you time.
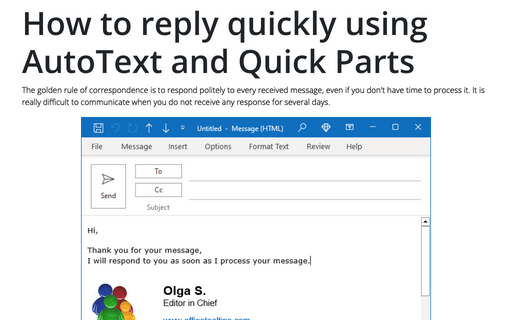
Custom AutoText can be a simple phrase or sentence you use frequently or include full paragraphs of text and objects such as graphics. For example, if you want to reply to some messages like that:

Create a new AutoText
To create an AutoText as a Quick Part, do the following:
1. Create a new message and enter text and graphics. You can format the content as you want.
2. Select the text and graphics you want to save as an AutoText entry.
3. Do one of the following:
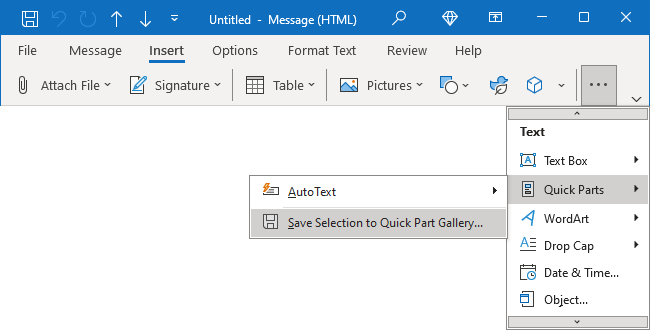
- If you use the Simplified ribbon (see more about customizing ribbons), on the Insert tab, click the Quick Parts dropdown list (if you don't see it on the ribbon, click the More commands button - three points to the very right of the ribbon buttons), then select Save Selection to Quick Part Gallery...:
- If you use the Classic ribbon, on the Insert tab, in the Text group (expand this group if necessary), click the Quick Parts button, then from the drop-down list, select Save Selection to Quick Part Gallery...:

- Press Alt+F3.
4. In the Create New Building Block dialog box:

- In the Name field, type the name of the new AutoText. For this example, AutoRespond.
- Optionally, from the Gallery drop-down menu, choose AutoText:

- Optionally, create a new Category by choosing Create New Category... from the Category dropdow list:

In the New Category Name dialog box, type a new name:

In this example, Responses.
- In the Description field, enter a description that will appear as ScreenTips when you point to the AutoText in the Quick Part Gallery.
- Optionally, from the Options dropdown list, choose one of the options:
- Insert content only (default) - insert the text block at the cursor point,
- Insert content in its own paragraph - insert the text block in its own paragraph below the cursor point,
- Insert content in its own page - insert the content in its own page:

- Click the OK button to save a new AutoText entry.
Use a Quick Part
To insert an AutoText entry in your message, do one of the following:
- Type the name of the AutoText or only several first symbols, and then press F3. Outlook replaces the name with the entire AutoText entry.
- Type the first symbols of the AutoText name to see the message and press Enter:

- On the Insert tab, in the Text group, choose the Quick Parts button, then select the building block you want to insert from the Quick Part Gallery or AutoText Gallery:
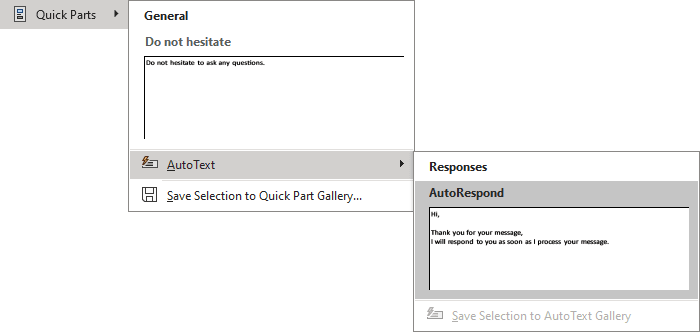
or
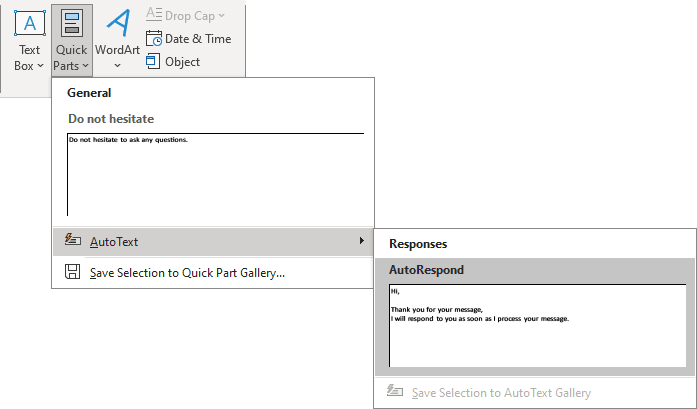
Note: You can also right-click the building block and select Insert at Beginning of Document or Insert at End of Document in the popup menu:

- If you have the AutoText button in the Quick Access Toolbar, just click on it and choose the block you want to insert in your document.
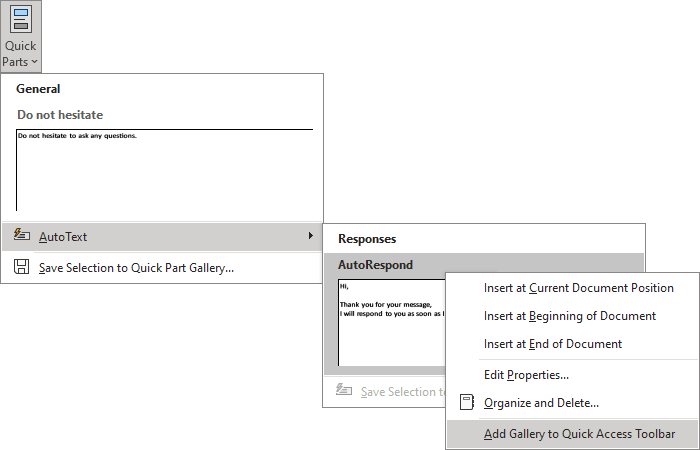
To add this button in the Quick Access Toolbar, see Adding commands to the Quick Access Toolbar. Or select the Add Gallery to Quick Access Toolbar from the popup menu after right-clicking any building block:
Change the content of a Quick Part
Outlook provides the ability to change the building block by replacing it. So, to make changes to it, just create a new building block and save it with the same name. Outlook will ask you to confirm the change of an existing standard block:

Click Yes to redefine the building block entry, or click No if you mistakenly entered an existing name.
Notes:
- To replace the existing entry, the name, category, and gallery must be the same as the existing one.
- To simplify making changes, insert the existing building block, make the necessary changes, and save the modified one.
Change the entry properties
To rename the building block, change its Category, Description, etc., do the following:
1. On the Insert tab, in the Text group, click the Quick Parts button.
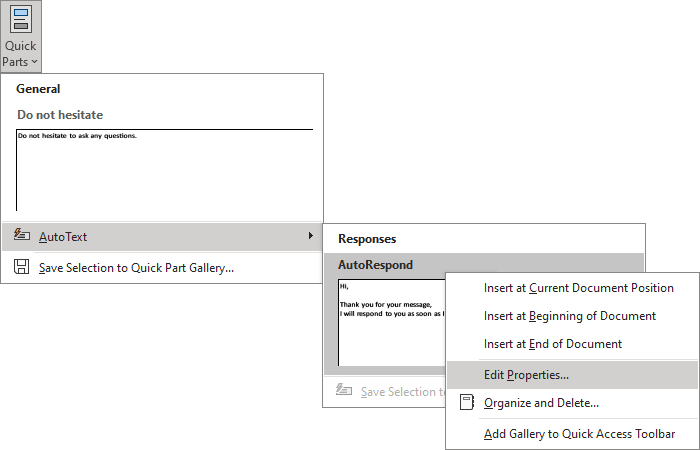
2. In the Quick Part Gallery (or AutoText Gallery), right-click the building block whose properties you want to change, then click Edit Properties... from the popup menu:
3. In the Modify Building Block dialog box, make the changes you want, then click OK:

Delete the AutoText or Quick Parts entry
To delete the building block entry, do the following:
1. On the Insert tab, in the Text group, click the Quick Parts button.
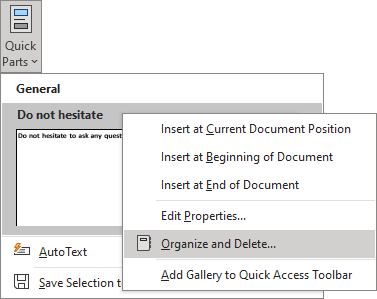
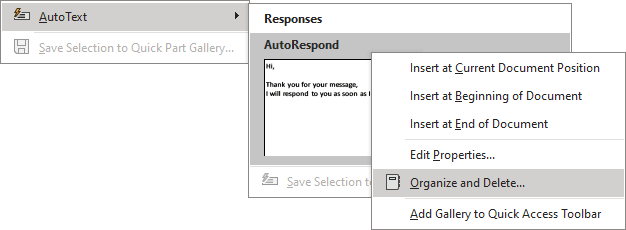
2. From the Quick Part Gallery or AutoText Gallery, right-click the entry you want to remove (or any), then choose Organize and Delete... in the popup menu:
or
3. In the Building Blocks Organizer dialog box, select the entry in the Building blocks list, then:
- Click the Delete button to remove the entry:

- Click the Edit Properties... button to modify properties (see more about changing the entry properties),
- Click the Insert button to paste the selected entry to your message.
4. When asked whether you are sure you want to delete the building block entry, click Yes:

See also this tip in French: Comment répondre rapidement à l'aide de l'insertion automatique dans Outlook.
