Customizing bulleted lists
To create a custom bulleted format, do the following:
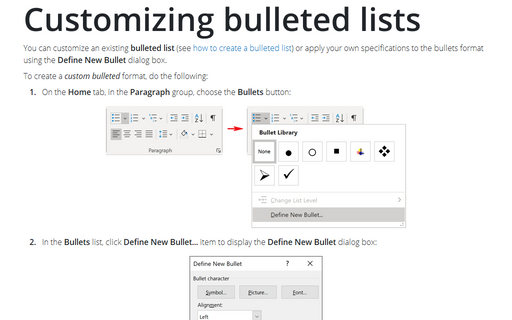
1. On the Home tab, in the Paragraph group, choose the Bullets button:

2. In the Bullets list, click Define New Bullet... item to display the Define New Bullet dialog box:

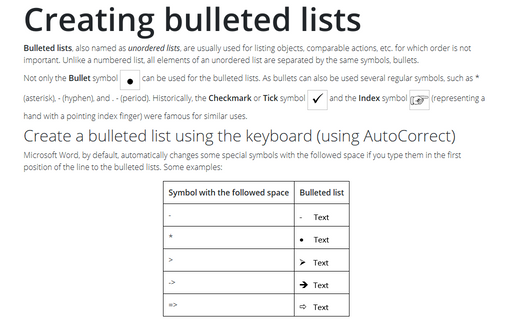
3. In the Define New Bullet dialog box:
- The Symbol... button opens the Symbol dialog box, in which you can choose the symbol
for the custom bulleted list:

Note: You can select any other font in the Font list if you prefer to choose another symbol from that font. For example, the symbol Square:

- Use the Picture... button to select the picture from a file or from the Internet to use it
like a bullet. For example, the finger pointer icon:

- The Font... button opens the Font dialog box, in which you can change the color or style of the bullet symbol such as bold, italic, strikethrough, etc.
- In the Alignment list can be set the distance from the left, centered, or right margin that Word places the number.
Word will show the chosen symbol as a bullet in the Preview zone, click OK to implement a new bulleted list:

Note: More details are available in the Bulleted lists section in the Work with bulleted, numbered and multi-level lists lesson of the Create basic documents free course.
See also this tip in French: Comment personnaliser une liste à puces.


