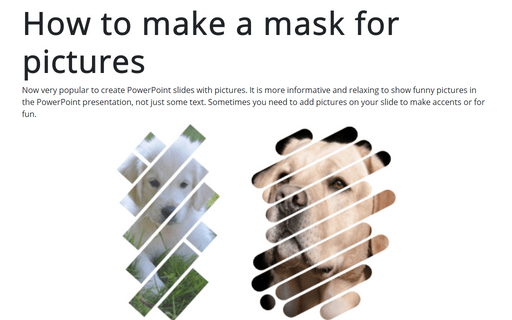
How to make a mask for pictures in the PowerPoint slide
Sometimes you need to add pictures on your slide to make accents or for fun.
This tip shows some tricks on how to transform pictures unusually.


To create a mask for your picture, you need to do just two things:
I. Create shapes or placeholders for your picture.
II. Add a picture for this shape or placeholder.
I. To create a group of shapes, do the following:
1. Add some shapes to your slide (see How to create a custom shape for more details).
For the first example was used a rectangle shape just rotated to 320o.
For the second example was used a Rectangle: Rounded Corners, rotated to 333o.
How to rotate shapes, see on the bottom of this tip.
2. Select all shapes you would like to group by pressing Ctrl or Shift and clicking each of these objects, and do one of the following:
- On the Home tab, in the Drawing group, select the Arrange drop-down list:

Then click the Group command:
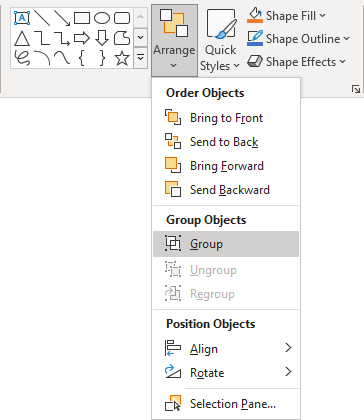
- On the Shape Format tab, in the Arrange group, click the Group command:

- Right-click one of the objects and choose Group -> Group from the popup menu:
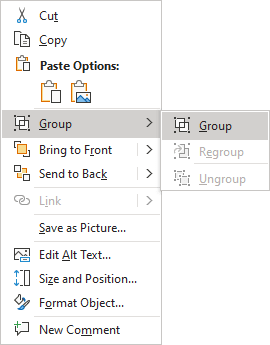
PowerPoint puts a single box around the objects instead of a separate box around each object, for example:

II. To add a picture to this group of shapes, do the following:
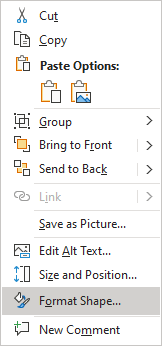
1. Right-click on the grouped shapes and then choose Format Shape... in the popup menu:
2. On the Format Shape pane, on the Shape Options tab, in the Fill & Line group:
- In the Fill section:
- Choose Picture or texture fill,
- Click on the Insert... button:
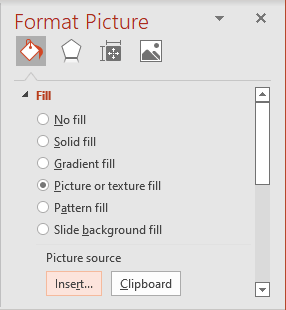
- In the Insert Pictures dialog box, choose the picture location, select the picture file, and then click Open or Insert:

Note: If the group of shapes is rotated and you prefer to see the picture not rotated, just uncheck the Rotate with shape checkbox:

Note: You can change the position of your picture, also using different parameters for Offset fields.
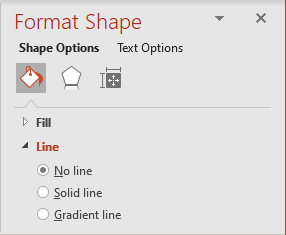
- In the Line section, select No line:
Add any other adjustments you would like.
For example, you can:
- group different shapes:

- or even choose some Smart Art object:

Note: To rotate a selected shape, do one of the following:
- Use the rotation handle at the top of the selecting border:

- On the Shape Format tab, in the Arrange group, select some commands in the Rotate dropdown list:

- On the Format Shape pane (to open the Format Shape pane, right-click on the shape and choose Format Shape... in the popup menu), on the Shape Options tab, in the Size & Properties group, in the Size section, choose or enter different volumes in the Rotation edit box:

See also this tip in French: Comment créer un masque pour les photos dans la diapositive PowerPoint.
