How to create a custom shape
Sure, professional designers prefer to use other programs, such as Corel Draw, Photoshop, etc., to modify the picture, the photo, etc., or create a new object. But why should casual users buy and master tools other than PowerPoint?
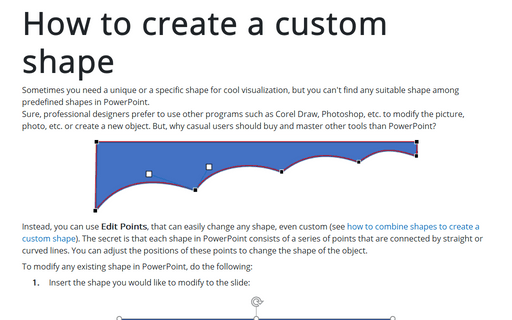
Instead, you can use Edit Points to easily change any shape, even custom (see how to combine shapes to create a custom shape). The secret is that each shape in PowerPoint consists of a series of points connected by straight or curved lines. You can adjust the positions of these points to change the shape of the object.
To modify any existing shape in PowerPoint, do the following:
1. Insert the shape you would like to modify to the slide:

2. To use Edit Points, do one of the following:
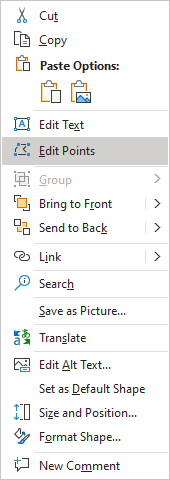
- Right-click on the shape and choose Edit Points in the popup menu:

- On the Shape Format tab (it will appear when you select the shape), in the Insert Shapes group, click on the Edit Shape dropdown list, and then choose Edit Points:

3. Make the changes with the selected shape:
- Drag a black square to change the shape - the selection handles on the shape turn black, indicating that they can be moved individually
- Click in any place on the line, and new black square will be appeared to help you create a new points in the shape
- Drag white squares to modify the curving of the lines.

4. Click outside of the shape or press Esc.
See also this tip in French: Comment créer une forme personnalisée.

