How to crop a picture to fit a shape
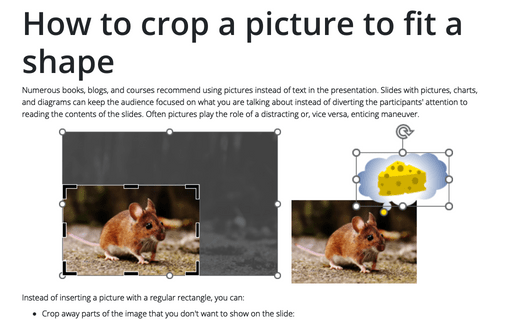
Instead of inserting a picture with a regular rectangle, you can:
- Crop away parts of the image that you don't want to show on the slide:

- Crop the image to a circle, triangle, arrow, or even a thought bubble:

- Create a shape and fill it with a picture:
 or
or

See how to fill shapes for more details.
Crop a picture by handles
To use the simplest way to crop a picture by using the cropping handles, do the following:
1. Click on the picture to select it.
Note: You can't crop multiple pictures at once.
2. On the Picture Format tab, in the Size group, click the Crop button:

Note: You can also open the Crop dropdown list and choose the Crop command:
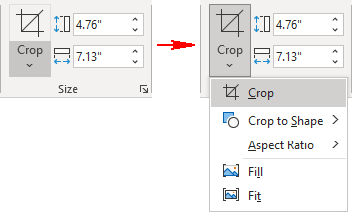
3. Drag the black handles that appear in corners and on the sides of the image to crop unneeded areas:

Areas that will be excluded from the cropped picture are shaded:

Note: You can drag the black handles outside the picture; sometimes, it makes sense. You simply add a transparent space to the image:

4. Repeat until all unnecessary areas of the image have been removed. When you finish, click outside the picture boundaries or click the Crop button again to apply the crop effect.
Note: You can crop the picture again if necessary. PowerPoint stores the original picture in its original size until you compress pictures.
Crop a picture "by the numbers"
To crop a picture "by the numbers" by using the Crop settings on the Format Picture pane, do the following:
1. Right-click the picture and choose Format Picture... in the popup menu:
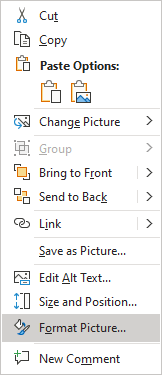
Note: You can't crop multiple pictures at once.
2. On the Format Picture pane, in the Picture group, in the Crop section:

- Under Picture position:
- Select or enter values in the Width and Height fields to resize the picture and keep the frame dimensions,
- Select or enter desired values in the Offset X and Offset Y fields:

- Under Crop positions:
- Decrease the value in the Width field to crop the picture from the right,
- Decrease the value in the Height field to crop the picture from the bottom,
- Choose or type values in the Left and Top fields to crop the picture from those sides, respectively:

Crop a picture to a shape
To crop a picture to a shape, do the following:
1. Click on the picture to select it.
Note: You can select multiple pictures to crop them to the same shape at once.
2. On the Picture Format tab, in the Size group, click the Crop button and then choose Crop to Shape from the dropdown list:
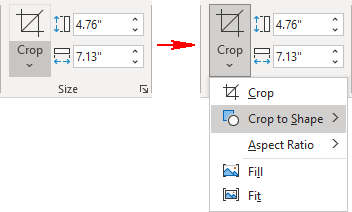
3. Select the shape from the gallery that opens:

Fill or fit an image in the shape
PowerPoint offers two features for images that can help to position them in shape:
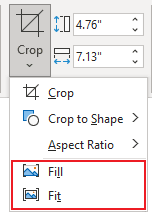
- The Fill option adjusts the image size to match the shape's height or width, whichever is bigger:

- The Fit option adjusts the image size so that both the height and width match the shape:

