Work with delivery and read requests in Outlook
You can request one or both of these receipts for just some email messages (see how to request delivery or read receipt for a message), or you can configure Outlook to request these receipts for all outgoing messages.
Ask for delivery and read receipts for all outgoing messages in Outlook for Windows
To add requests for all messages in Outlook for Windows, do the following:
1. On the File tab, click the Options button:

2. In the Outlook Options dialog box, open the Mail tab.
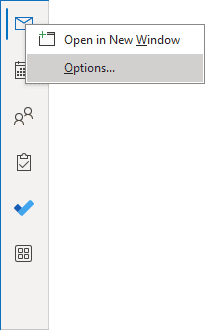
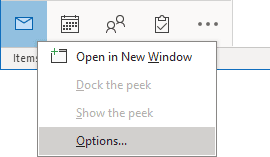
Note: You can easily open the Mail tab in the Outlook Options dialog box by right-clicking the Mail icon in the Navigation bar and choosing Options... in the popup menu:
 or
or

See more about customizing the Navigation bar in Outlook.
3. In the Outlook Options dialog box, on the Mail tab, under Tracking, under For all messages sent, request:

- Select the Delivery receipt confirming the message was delivered to the recipient's e-mail server checkbox to track when the email message will be delivered to the recipient,
- Select the Read receipt confirming the recipient viewed the message checkbox to track when the recipient opens and reads the email message.
Note: Both you and your recipient can customize this option. So, you expect to receive a read receipt every time, but you may not because your recipient can ignore or even prevent read receipts from being sent.
Anyway, you can track the delivery of all your messages.
4. Click OK to close the Outlook Options dialog box and apply the changes.
Note: If you requested a receipt but did not receive one, this does not necessarily mean that your message was not delivered or read. Some email programs do not send delivery or read receipts.
Prevent read receipts from being sent in Outlook for Windows
Some email message senders include a read request in the messages they send. When you open such messages, Outlook may display a message asking you to send a read receipt (see examples of such messages in Outlook for Windows and Outlook for Web):
- If you don't want to respond every time, set Outlook to ignore these requests,
- If you want to control how these read requests are handled, set Outlook to reply automatically or to prompt you for what to do.
Customize Outlook for Windows to respond to or refuse read requests
To customize Outlook for Windows to send or refuse the read requests, do the following:
1. On the File tab, click the Options button:

2. In the Outlook Options dialog box, in the Mail tab, under Tracking, under For any message received that includes a read receipt request, select an option you prefer:

- Select the Always sent a read receipt option to accept all incoming read requests automatically.
- Select the Never send a read receipt option to reject all incoming read requests automatically.
- Select the Ask each time whether to send a read receipt (default) option to have Outlook display the warning message "{sender} requested a read receipt be sent when message {subject} is read. Do you want to send a receipt?" for each email message with a read receipt request you receive that you open for the first time:

You can confirm sending a message read receipt by clicking Yes or refuse sending it by clicking No.
3. Click OK to close the Outlook Options dialog box and apply the changes.
Customize Outlook for Web to respond to or refuse read requests
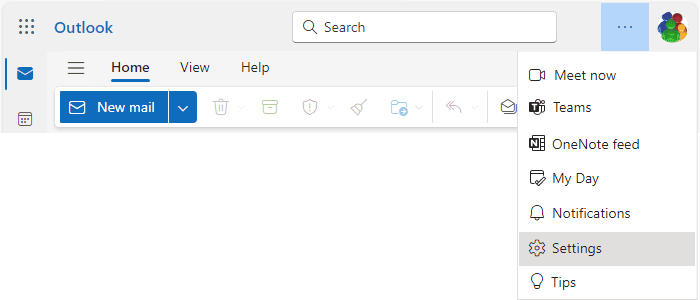
To customize Outlook for Web reactions for incoming read requests, open the Settings dialog box by doing one of the following:
- Click on the
 Settings button in the upper right corner of the page:

or

- On the View tab, click the Settings button:

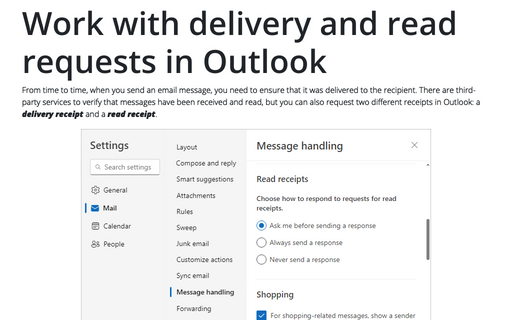
In the Settings dialog box, on the Mail tab, in the Message handling group, under Read receipts, choose how to respond to requests for read receipts:

- Select the Ask me before sending a response (default) option to always display the information for manually sending the read receipt.
If you select this option, when you open first time an email message with a requested read receipt, Outlook displays the information "The message sender has requested a read recipient. To send a receipt, click here." above the message:

You may ignore this message and not send the requested notice.
To confirm sending the read receipt, click the click here link. Outlook displays information "A read receipt has been sent to this sender." above the message:

- Select the Always send a response or Never send a response options to automatically accept or reject all incoming read requests, respectively.
See also this tip in French: Comment demander un reçu pour tous les messages sortants.

