Add entries to the AutoComplete list
To add addresses to the AutoComplete list without sending an email to the recipient, do the following:
1. On the Send / Receive tab, in the References group, click the Work Offline button:
 or
or

Outlook displays the Working Offline status in the status bar and stops sending and receiving messages:
2. Create messages to all recipients you need to add to the AutoComplete list and send them.
Notes: The AutoComplete list is limited to 1 000 entries for Outlook 2016. After reaching this limit, Outlook removes the entries you use the least to make room for new entries.
Outlook places all sending messages in the Outbox folder:

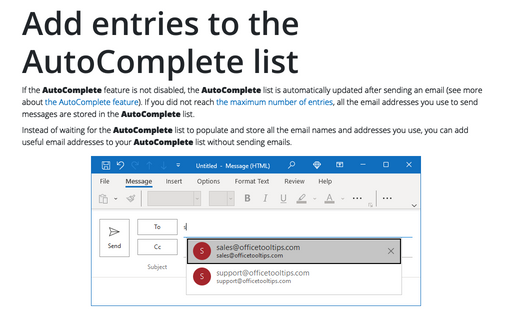
Now, you have all added recipients in the AutoComplete list:

3. Delete all messages from the Outbox folder to avoid sending them.
4. On the Send / Receive tab, in the References group, click again the Work Offline button to switch into the online mode.

