Progress Gantt chart with events
If you need to create a simple Gantt chart, see Creating a Gantt chart or Gantt chart with progress.
In this tip, we will show how to add events to your Gantt chart:

To add the events in the existing Gantt chart, do the following:
Add a new data
1. Add the events into your spreadsheet and select this data range.
For example, the cells $B$11:$C$14:

Add the new data series to the chart
2. Do one of the following:
- Select the chart, then on the Chart Design tab, in the Data group, choose Select Data:

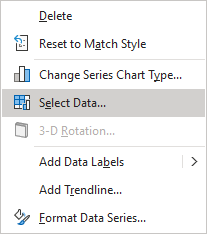
- Right-click on the chart area and choose Select Data... in the popup menu:
In the Select Data Source dialog box, click the Add button, then in the Edit Series dialog box:
- Optionally, in the Series name field, type the data series name,
- In the Series values box, type the constant values for each point in the new data series with events.
These constants will determine the vertical position of events. For example, they can be placed:
- in a horizontal line, = {1,1,1,1},
- in a curved line, = {1,2,3,4}:

Change the data series chart type
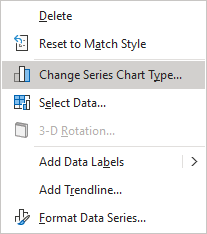
3. Right-click on any data series and choose Change Series Chart Type... in the popup menu:
In the Change Chart Type dialog box, for the new data series, choose the Scatter type (the Secondary Axis checkbox is selected automatically):

Correct the new data series
4. Right-click on the chart area and choose Select Data... in the popup menu. In the Select Data Source dialog box, select the new data series and click the Edit button.
In the Edit Series dialog box, in the Series X values box, type or select the cells with events ($C$11:$C$14):

After closing the dialog boxes, Excel rebuilds the chart:

Hide the secondary vertical axis
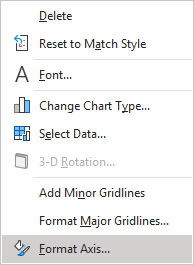
5. Right-click on the secondary vertical axis and select Format Axis... in the popup menu (or double-click the axis):
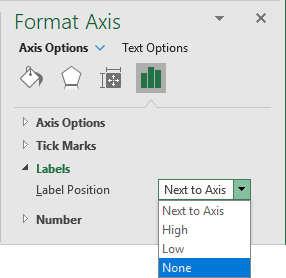
On the Format Axis pane, on the Axis Options tab, in the Labels section, from the Label Position list, choose None:
Customize the new data series
6. Right-click on the new data series and choose Format Data Series... in the popup menu:
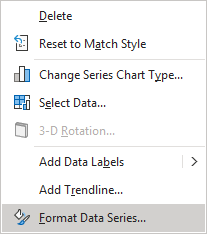
On the Format Data Series pane, on the Series Options tab, in the Fill & Line group:
- Under Marker, in the Marker Options section, select the Built-in option, then:
- From the Type dropdown list, select a marker type that you want. For example, insert a picture:

- In the Size field, type or select the appropriate size for the marker.
- From the Type dropdown list, select a marker type that you want. For example, insert a picture:
You can then make any other adjustments to get the expected look.
See also this tip in French: Comment créer un diagramme de Gantt avec des événements.

