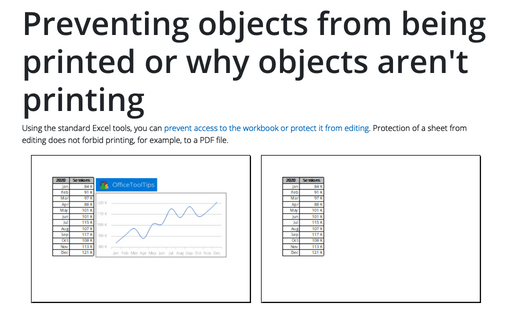
Preventing objects from being printed or why objects aren't printing
To protect your information or to save toner :) you can exclude certain cells or objects for printing.

Prevent cells from being printed
To prevent certain cells from being printed, do one of the following:
- Hide cells - the hidden cells on the spreadsheet aren't printed.
To hide a row or column, right-click on its label and select Hide in the popup menu:
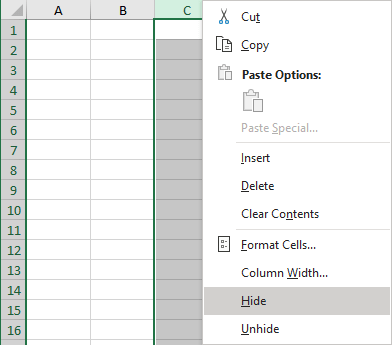
Notes:
- You can hide multiple columns or columns: select them, right-click on the selection and do the same as for a single row or column.
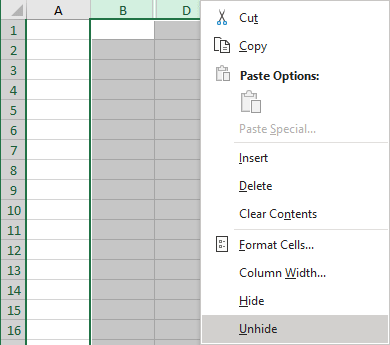
- To unhide cells, select the rows or columns around the hidden, right-click on the selection and choose Unhide in the popup menu:
- Disguise cells by an object - cover these cells with any type of shape.
To add a shape to the spreadsheet, on the Insert tab, in the Illustrations group, click the Shapes button:

Choose the appropriate shape from the Shapes list and position it in front of the cells.
- Format cells to hide their information.
See how to hide the cell values in Excel without hiding cells for more details.
Note: You can also hide the data by choosing the same fill color for the text as the background color (see more about fill and outline options in Microsoft). Be careful! Some printers can print such text as visible.
In the print preview, the formatted data are hidden:

Prevent objects from being printed
To prevent objects on the worksheet (such as charts, Shapes, and SmartArt) from being printed, do the following:
1. Right-click on the object, then select Format ***... in the popup menu (or double-click the object to open the Format *** pane).
*** varies depending on the object. For example:
- Right-click the picture or shape, then select the Format Picture... or Format Shape... in the popup menu:
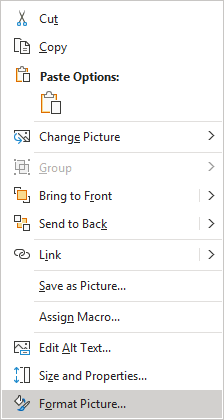 or
or
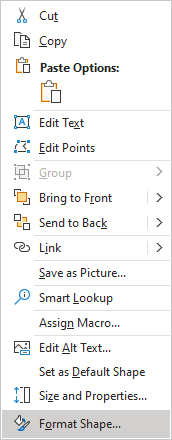
- Right-click the chart area, then select Format Chart Area... in the popup menu (or double-click the chart border):
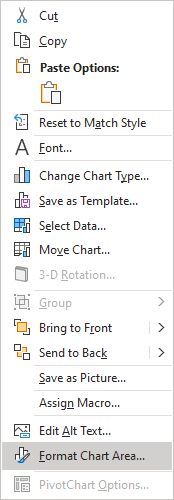
2. On the Format *** pane, in the Size & Properties group, in the Properties section:
- Select the Print object checkbox (selected by default) to print the object,
- Clear the Print object checkbox to prevent the object from being printed.
For example:
- to prevent printing of the picture, clear the Print object checkbox on the Format Picture pane:

- to prevent printing of the chart, clear the Print object checkbox on the Format Chart Area pane:

Check in the print preview that both objects are hidden:

