How to customize Table of Contents

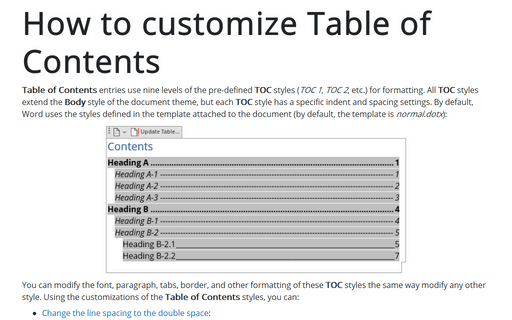
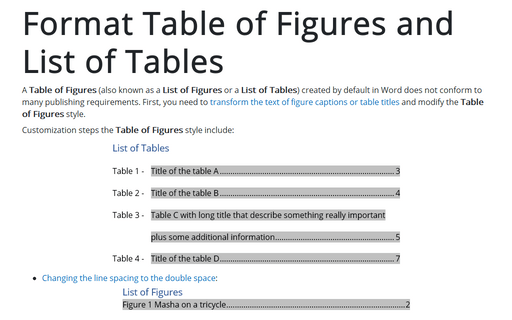
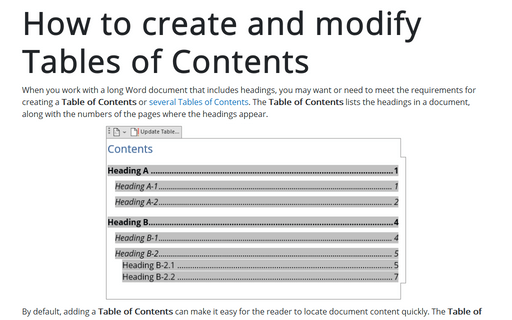
You can modify the font, paragraph, tabs, border, and other formatting of these TOC styles the same way modify any other style. Using the customizations of the Table of Contents styles, you can:
- Change the line spacing to the double space:
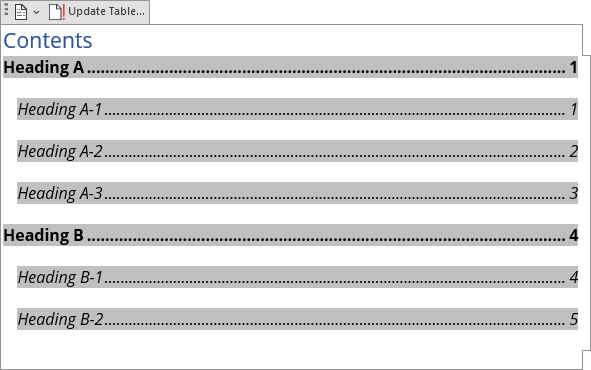
- Format long Headings to avoid overlapping page numbers:

- Align the second line of the long title:

- Customize tab leaders for different headings in the Table of Contents:
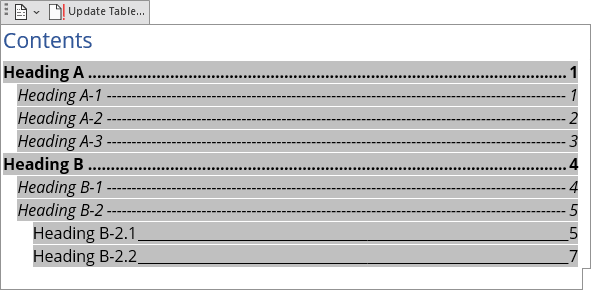
Sure, you can format the text of these lists like regular text in the document. However, all changes you make to the Table of Contents without changing the Table of Contents style may be lost after updating fields in the document.
To customize an existing Table of Contents style, you need to select that style and open the Modify Style dialog box. Word offers several different ways how to open that dialog box:
Open the Modify Style dialog box using the Table of Contents dialog box
To modify TOC styles in the Table of Contents dialog box while creating a new Table of Contents (or editing an existing one), do the following:
1. Open the Table of Contents dialog box (see how to create a Table of Contents).
2. In the Table of Contents dialog box, on the Table of Contents tab, click the Modify... button:
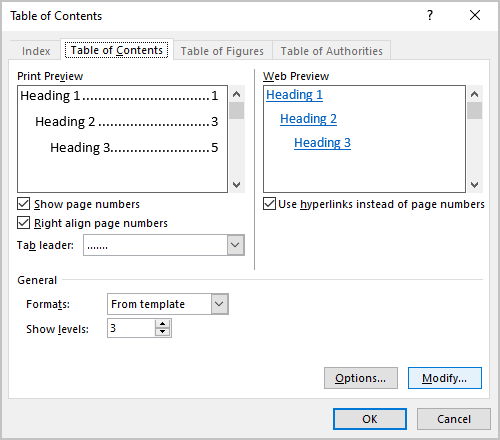
3. In the Style dialog box:
- In the Styles list, select the style you want to modify:

- In the Preview field, see how the selected style looks,
- Under the Preview field, see the main options of the selected style,
- If you need to change the selected style, click the Modify... button.
Open the Modify Style dialog box using the Styles pane
You can create or modify any style in a Word document using the Style pane. To open it, on the Home tab, in the Styles group, click the dialog box launcher (or press Ctrl+Shift+Alt+S):

On the Styles pane:
- Select the style you want to modify,
- Right-click and choose Modify... in the popup menu:

Open the Modify Style dialog box using the Reveal Formatting pane
The Reveal Formatting pane allows you to quickly review the font, paragraph, and section formatting used in the document content. See more about reviewing the text formatting quickly using the Reveal Formatting task pane.
1. Open Reveal Formatting pane by pressing Shift+F1:

- To view the formatting for the word, click on it
- To view the formatting for more than one word of the text, select the text fragment.
2. On the Reveal Formatting pane, in the Paragraph section, click on the PARAGRAPH STYLE link to open the Style dialog box.
3. In the Style dialog box:
- Select the style you want to modify,
- In the Preview field, Word shows how the selected style looks,
- Under the Preview field, Word shows the main options for the selected style,
- To make any changes, click the Modify... button:

Note: In some cases, more than one Style may be applied to the selected block of text; Word opens Hyperlink style if it can't recognize which style it should open. You can scroll the list to choose the TOC style you need.
Modify the Table of Contents style
In the Modify Style dialog box, make the changes you need:

- In the Formatting section, make formatting changes as desired (for example, change the font, font size, color, and paragraph spacing),
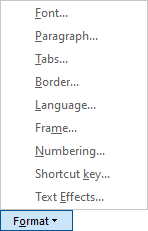
- Click the Format tab:
Examples for the TOC style changes
Example 1: Change the line spacing to the double space
To change the line spacing, in the Modify Style dialog box:

- Select the Double space button,
- Make any other changes you need and click OK:

Note: You need to repeat this customization for all the TOC styles you use.
Example 2: Format long Headings using a right indentation
You can need to format the Table of Contents with long headings to avoid overlapping page numbers:

To format a long Heading that spans more than one line in the Table of Contents so that it doesn't overlap the page numbers, do the following:
1. In the Modify Style dialog box, click the Format... button, then select Paragraph...
2. In the Paragraph dialog box, in the Indentation section, in the Right field, type or select the value you need. E.g., 0.2":

3. Apply the changes for the style:

Note: If you have several long Headings with different TOC styles, you need to repeat this customization for all of them.
Example 3: Align the second line of the long title using a hanging indent
You can need to format the Table of Contents with the long headings for second and following lines:

To format a long Heading that spans more than one line in the Table of Contents so that it doesn't overlap the page numbers, do the following:
1. In the Modify Style dialog box, click the Format... button, then select Paragraph...
2. In the Paragraph dialog box, in the Indentation section:
- In the Special dropdown list, select Hanging,
- In the By field, type or select the value you need. E.g., 0.8":

3. Apply the changes for the style:

Note: If you have several long Headings with different TOC styles, you need to repeat this customization for all of them.
Example 4: Customize tab leaders for different headings in the Table of Contents
To customize the tab leaders for some TOC style, do the following:
1. In the Modify Style dialog box, click the Format... button, then select Tab...
2. In the Tab dialog box:
- In the Tab stop position field, type the value you want to position page numbers (usually, page width minus a minimal value such as 0.01"),
- In the Alignment section, select the Right option,
- In the Leader section, select the tab leader you prefer:

- Click the Set button to apply the Tab stop position.
3. Apply the changes to the style:

