Choose settings for checking Grammar
To configure grammar checks, do the following:
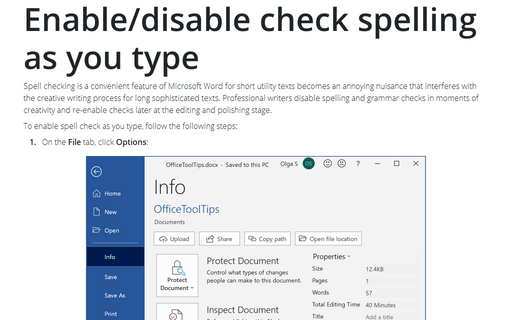
1. On the File tab, click Options:

2. In the Word Options dialog box, choose the Proofing tab and then under When correcting spelling and grammar in Word, click the Settings... button:

3. In the Grammar Settings dialog box, select:
- the Grammar item if you want the checker to check only grammar items - Word clears Wordiness and Normalizations style options:

4. Scroll down to select and deselect options as you prefer:

- In the Clarity area and in the Conciseness area, select the check box for each grammar option you want to use:

- In the Punctuation Conventions, Resume and Vocabulary areas, select options you need:

To see a brief explanation of each item, press F1, and then click the Spelling and Grammar settings link on the Microsoft support website, then scroll down to see the description of each option.
5. Click the OK button.
Notes:
- Any changes that you make to these settings apply to all the documents, not just the current document.
- To return all pre-defined options as it provides by Microsoft, click the Reset All button.

