Bookmarks in a Word document
Create a bookmark
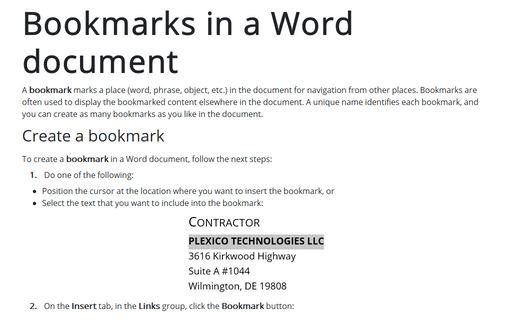
To create a bookmark in a Word document, follow the next steps:
1. Do one of the following:
- Position the cursor at the location where you want to insert the bookmark, or
- Select the text that you want to include into the bookmark:

2. On the Insert tab, in the Links group, click the Bookmark button:

3. In the Bookmark dialog box, in the Bookmark name box, enter a name for the bookmark you want to create or replace the name that is currently in the Bookmark name box, then click the Add button:

Notes:
- Bookmark names need to begin with a letter and contain only letters, numbers, and underscore characters (“_”). If you type any prohibited symbols, the Add button becomes inactive.
- If there are other bookmarks in the document, the last created bookmark is selected, and its name is displayed in the Bookmark name box.
- If you have selected a text that contains a bookmark (bookmarks), that bookmark (last created from the selected bookmarks) will be selected in the list, and its name is displayed in the Bookmark name box.
Display a bookmark
By default, Word hides bookmarks. They can be displayed using the Word settings (see How to show/hide bookmarks in a Word document). Two kinds of markers indicate bookmarks:
- Large, gray I-beams indicate bookmarks that mark only locations:

- Gray square brackets at the beginning and end indicate bookmarks that mark a block of text:

Go to a bookmark
You can quickly jump directly to any bookmark from:
1. The Bookmark dialog box:
In the Bookmark dialog box, in the Bookmark name list, select bookmark name and click the Go To button (or double-click the bookmark you want to go to):

Notes:
- It is convenient to sort bookmarks by location (in document order). To do so, select the Location item from the Sort by options.
- In addition to bookmarks created by authors or editors, a document can contain bookmarks created by Word – technical bookmarks. To see all bookmarks in a document, select the Hidden bookmarks check box:

2. The Find and Replace dialog box:
2.1. Open the Find and Replace dialog box with the Go To tab displayed by doing one of the following:
- Press Ctrl+G.
- Press F5.
- On the Home tab, in the Editing group, click the Find dropdown list, and then choose Go To...:

2.2. In the Find and Replace dialog box, on the Go To tab:
- In the Go to what list, select Bookmark,
- In the Enter bookmark name field, type the bookmark name, or select the bookmark name from the dropdown list:

- Click the Go To button.
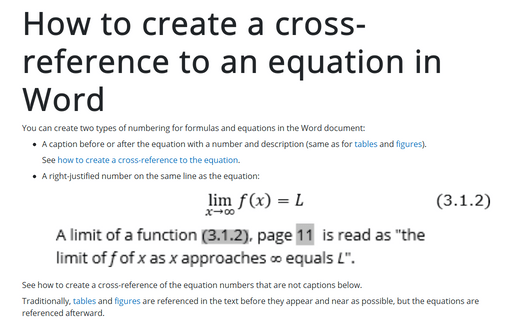
3. A hyperlink to the bookmark. Select a reference in the document and click it to jump to the bookmark (see how to create a cross-reference):

Create a reference to a bookmark
Word offers two ways how to link to a bookmark:
- By creating a cross-reference,
- By adding a hyperlink to a bookmark.
To create a hyperlink to a bookmark (same as to a heading), do the following:
1. Type or select a text or object you want to use as a hyperlink.
2. Do one of the following:
- Right-click the selection, select the Link in the popup menu, then click Insert Link...:

- On the Insert tab, in the Links group, click the Link button:

- Press Ctrl+K on the keyboard.
3. In the Insert Hyperlink dialog box:
- In the Link to list, select the Place in This Document item,
- Make sure that the Text to display text box contains the correct text for the link,
- In the Select a place in this document list, select the heading or bookmark that you want to link to:

- Optionally, click the ScreenTip... button to add the text to the screen tip that will be displayed when you hover the mouse cursor over the link:

- Click OK to insert the hyperlink in the document:

Delete a bookmark
To delete any bookmark, do one of the following:
- Select text inside the bookmark and delete it.
If you select all bookmark text (between square grey brackets), this deletes the bookmark with the selected text.
- Do the following:
- On the Insert tab, in the Links group, click the Bookmark button.
- In the Bookmark dialog box, select the bookmark that you want to delete and click the Delete button:


