Save PowerPoint presentations as PDF Files
You can save the entire presentation, custom show, or just some slides to the PDF file. Animations, transitions, and sounds are not preserved in a PDF file.
PowerPoint offers different ways to save a workbook in PDF format:
- Save the presentation using Save As pane or Save As dialog box
- Export the presentation to PDF
- Save the selected slides using Save As pane or Save As dialog
Choose the one you prefer:
Save the entire presentation as a PDF file using the Save As pane
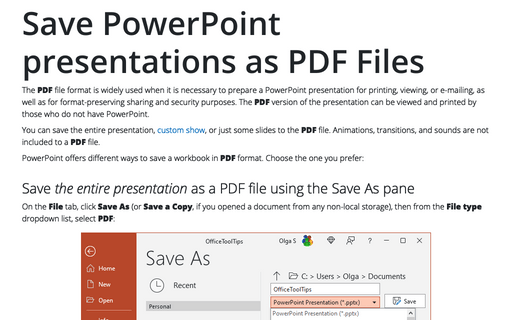
On the File tab, click Save As (or Save a Copy, if you opened a document from any non-local storage), then from the File type dropdown list, select PDF:

If needed, click the More options... link to open the Save As dialog box with additional options that control the PDF output details (see below):

Save the entire presentation, custom show, or some slides as a PDF file using the Save As dialog box
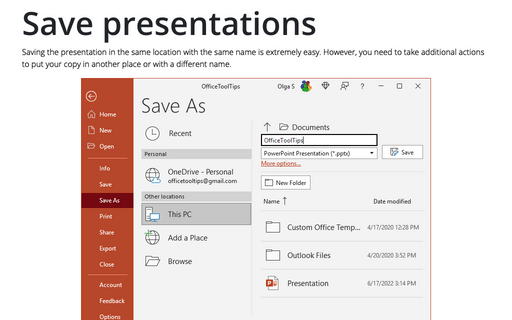
On the File tab, click Save As, then click Browse to open the Save As dialog box. In the Save As dialog box:
- Navigate to the folder where you want to save the PDF file,
- From the Save as type list, select PDF:

- If you want to create a smaller PDF file (the file size is much smaller, but graphics quality is a bit lower), click Minimum size (publishing online),
- To modify any of the default settings, click the Options... button to open the Options dialog box:

In the Options dialog box:
- In the Range section, specify the slides or a custom show to include in the PDF file
- In the Publish options section:
- From the Publish what list, specify what exactly should be saved in the PDF file Slides, Handouts, Notes pages, or Outline view
- Select how many Slides per page should be saved
- Choose the specific data to include, such as hidden slides, comments, etc.
- In the Include non-printing information section, enable, or disable non-printing elements such as file properties
- Select compliance
- If you do not want to automatically open the new PDF file in your default PDF viewer, clear the Open file after publishing checkbox:

Export the presentation to a PDF file
On the File tab, click Export, then click the Create PDF/XPS button:

In the Publish as PDF or XPS dialog box, specify a filename and location and set some other options (see above, the same as in the Save As dialog box):

Note: XPS is another "electronic paper" format developed by Microsoft as an alternative to PDF. However, there is currently little third-party support for the XPS format.
Save specific slides in PDF format
1. In the Normal or Slide Sorter view, select the slides you want to save in the PDF file.
2. Do one of the following:
- On the File tab, click Save As, then click Browse to open the Save As dialog box.
- On the File tab, click Export, and then click the Create PDF/XPS Document button to open the Publish as PDF or XPS dialog box.
3. In the Save As dialog box or the Publish as PDF or XPS dialog box, click the Option... button.
4. In the Options dialog box:
- In the Range section, select the Selection option:

- Set any other option you need, then click the OK button.
5. In the Save As dialog box or the Publish as PDF or XPS dialog box, click the Save or Publish button appropriately.


