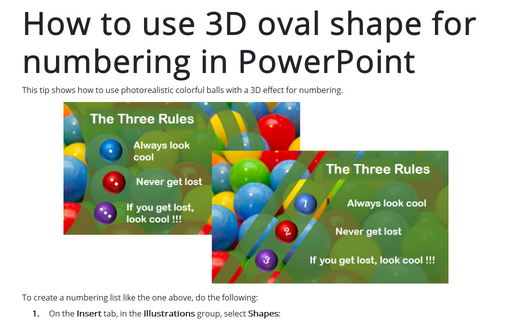
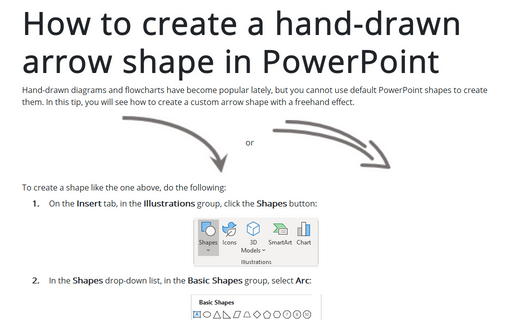
How to use 3D oval shape for numbering in PowerPoint
See also the numbering list.


To create a numbering list like the one above, do the following:
1. On the Insert tab, in the Illustrations group, select Shapes:

2. In the Shapes list, from the Basic Shapes group, choose the Oval shape:
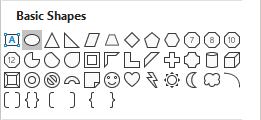
3. After pasting this shape into your slide, format it:
3.1. To change the size of your shape, do one of the following:
- On the Shape Format tab, in the Size group, change the width and height of the selected shape:

- Right-click on the shape and choose Size and Position... in the popup menu:

On the Format Shape pane, on the Shape Options tab, in the Size & Properties group, in the Size section, change width and height in the appropriate fields:
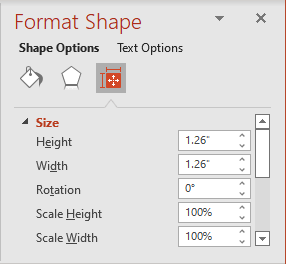
3.2. To change the color, on the Format Shape pane, on the Shape Options tab:
- In the Fill & Line group:
- In the Fill section, select the color you prefer:
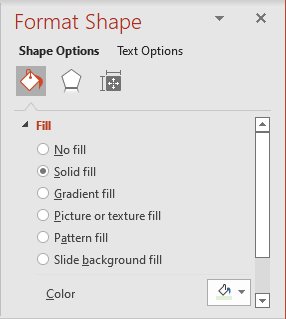
- In the Line section, select the color you prefer:
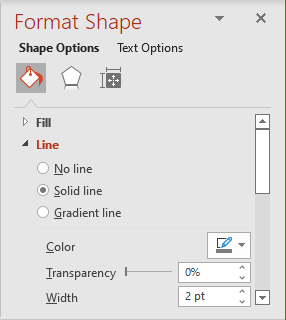
- In the Fill section, select the color you prefer:
- In the Effect group, in the 3-D Format section, select width and height in the Width and Height fields:

After all these changes, the cube will look like this:

4. For more interesting results, add labels to that shape in any of the following ways:
a) Add the text box under the shape:
- just double-click on it and enter the text (in this example, 7):

- rotate that shape as you want:

b) Add new shapes; for example, add new oval shapes with another color:

You can copy the shape and just change colors, text, and rotation.
See also this tip in French: Comment utiliser une forme ellipse 3D pour la numérotation dans PowerPoint.
