How to organize your slides
Your PowerPoint presentation doesn't need to have a linear order of slides. Instead, you can create one central slide from which you will open any part of your presentation. After showing this part of the presentation, return to the main slide.
To create the main slide of your presentation, do the following:
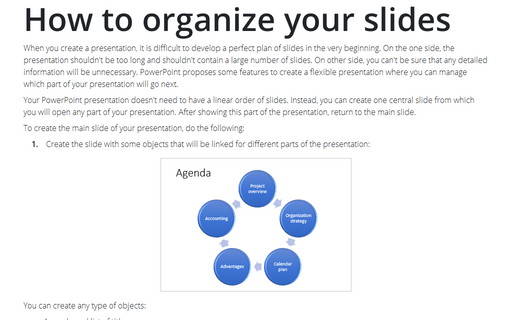
1. Create the slide with some objects that will be linked for different parts of the presentation:

You can create any type of objects:
- A numbered list of titles
- Several different shapes
- SmartArt graphic
- etc.
2. Create the custom shows for different parts of the presentation (see how to create your own slide show):

3. Add the custom slide shows to the appropriate objects on the main slide:
Select the object and do one of the following:
A. To use Action feature:

A.1. On the Insert tab, in the Links group, click the Action button:

A.2. On the Action Settings dialog box, select the Hyperlink to checkbox and then select Custom Show... from the dropdown list:

A.3. On the Custom Show dialog box:
- Select the custom show that you want to present when you click on the selected object:

- To return to the main slide, be sure to select the Show and return checkbox.
- Click OK.
B. To use Links:
B.1. Open the Insert Hyperlink dialog box by doing one of the following:
- On the Insert tab, in the Links group, select the Link dropdown list and then
click Insert Link...:

- Right-click on the selected object and then choose the Link dropdown list and then click Insert Link...:

B.2. On the Insert Hyperlink dialog box:
- Select Place in This Document in the Link to list
- Select the custom show under Custom Shows in the Select a place in this document list
- Be sure that you select the checkbox Show and return:

- Optionally, enter the screen tip using the ScreenTip... button
- Click OK.
After finishing these three steps, you will see the main slide with links to the custom shows, that can be in any order.
See also this tip in French: Comment organiser vos diapositives.

