How to make modern picture design in PowerPoint slide
This tip is about some tricks for creating some unique designs for pictures.

See also How to create simple picture designs for PowerPoint slides.
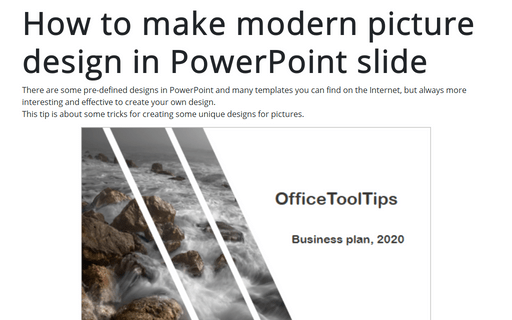
To create several shapes with one background picture like shown above, do the following:
1. Create shapes for your picture:
1.1. To create the left shape, you can add two shapes to the slide – a rectangle and a triangle:
1.1.1. On the Insert tab, in the Illustrations group, select Shapes:

1.1.2. In the Shapes list, from the Rectangles group, select and add to the slide the Rectangle shape:

1.1.3. In the Shapes list, from the Basic Shapes group, select and add to the slide the Right Triangle shape:
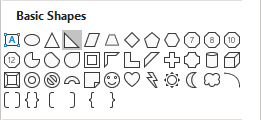
1.2. To create the central or right shape, you can add a parallelogram shape and then flip it vertically:
1.2.1. In the Shapes list, from the Basic Shapes group, select and add to the slide the Parallelogram shape:
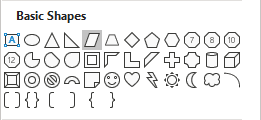
1.2.2. To flip the selected shape, do one of the following:
- On the Home tab, in the Drawing group, select the Arrange dropdown list:

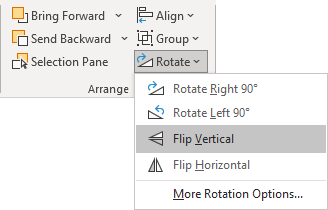
Choose the Rotate list and then click Flip Vertical:
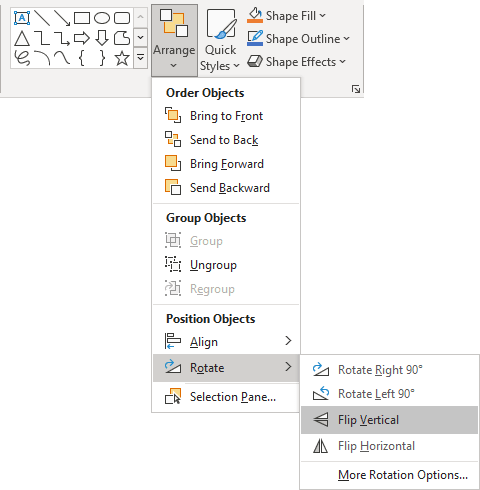
- On the Shape Format tab, in the Arrange group, choose the Rotate dropdown list, and then click Flip Vertical:
After flipping the shapes, modify them as you want:

2. To show one picture through all these shapes, just group them:
2.1. To group several objects, select them by pressing Ctrl or Shift and clicking each of these objects.
2.2. Do one of the following:
- On the Home tab, in the Drawing group, select the Arrange dropdown list, then click the Group command:
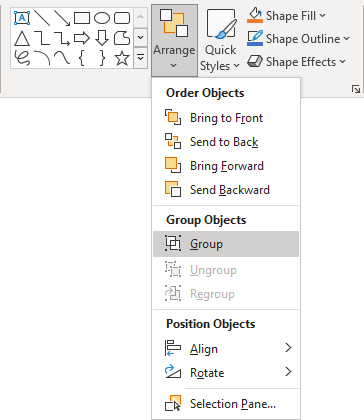
- On the Shape Format tab, in the Arrange group, click the Group command:

- Right-click on the selection and choose Group -> Group from the popup menu:
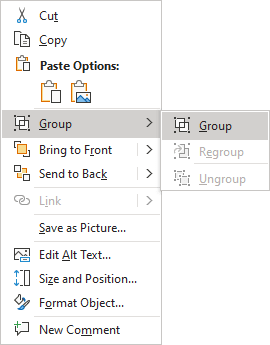
PowerPoint puts a single box around the objects instead of a separate box around each object:

3. Right-click on the grouped shapes and then choose Format Shape... in the popup menu:
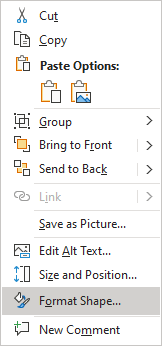
4. On the Format Shape pane, on the Shape Options tab, in the Fill & Line group:
- In the Fill section:
- Choose Picture or texture fill,
- Click on the Insert... button:
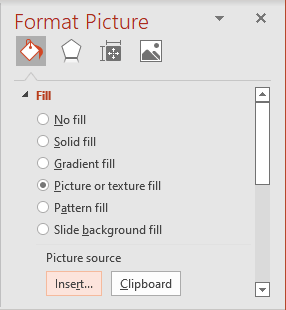
- In the Insert Pictures dialog box, choose the picture location, select the picture file, and then click Open or Insert:

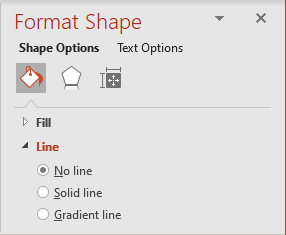
- In the Line section, select No line:
Add any other adjustments you would like.
See also this tip in French: Comment faire de la conception d'image moderne dans la diapositive PowerPoint.
