How to create paintbrush effects in PowerPoint


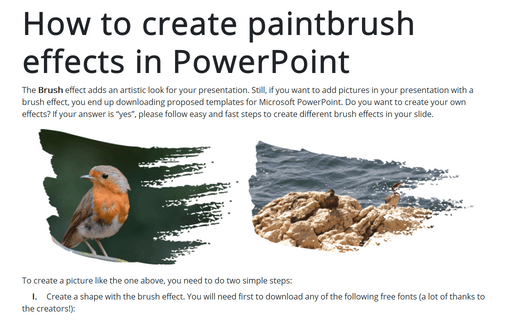
To create a picture like the one above, you need to do two simple steps:
I. Create a shape with the brush effect. You will need first to download any of the following free fonts (a lot of thanks to the creators!):
II. Crop the picture to the shape.
To create a shape with the brush effect, do the following:
1. Add any shape to the slide, for example, a rectangle:
1.1. On the Insert tab, in the Illustrations group, select Shapes:

1.2. In the Shapes list, from the Rectangles group, select and add to the slide the Rectangle shape:

2. Add the letter from the font you have chosen in front of the shape, for example:

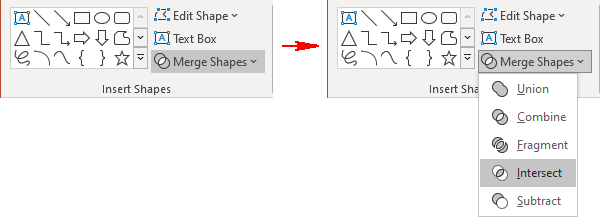
3. Select the shape and the letter and then on the Shape Format tab, in the Insert Shapes group, choose the Merge Shapes dropdown list and then select Intersect:

You will see a new shape from the letter (see How to make modern picture design in PowerPoint slide):

Note: If you want to use just a part of the letter, you need to insert a smaller rectangle.
 or
or

4. Group these shapes, format them and add pictures (see How to make modern picture design in PowerPoint slide for more details).
Add any other adjustments you like.
See also this tip in French: Comment créer des effets de pinceau dans PowerPoint.

