How to create letters with pictures in PowerPoint slides
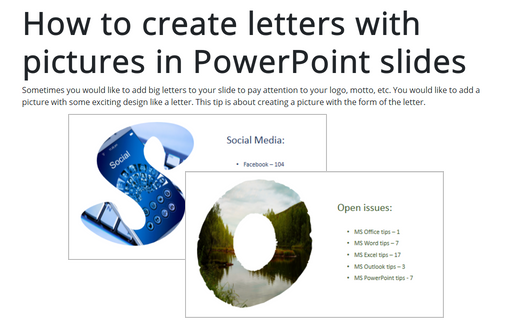
This tip is about creating a picture with the form of the letter.


To create a picture like this, you need two simple steps:
1. Create a shape from a letter.
2. Add a picture to the shape.
To create a shape from a letter, do the following:
1. Add any shape to the slide, for example, a rectangle:
1.1. On the Insert tab, in the Illustrations group, select Shapes:

1.2. In the Shapes list, from the Rectangles group, select and add to the slide the Rectangle shape:

2. Add the letter you would like to use in front of the shape, for example:

3. Select the shape and the letter and then on the Shape Format tab, in the Insert Shapes group, choose the Merge Shapes dropdown list and then select Intersect:
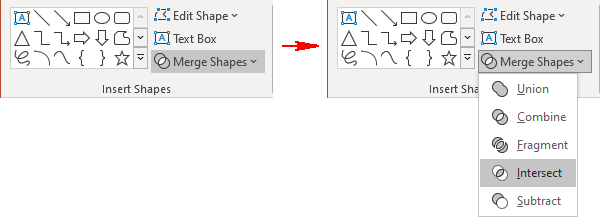
You will see the new shape from the letter (see some additional steps at the bottom of this tip for letter O or How to make modern picture design in PowerPoint slide):

4. Right-click on the shape and then choose Format Shape... in the popup menu:
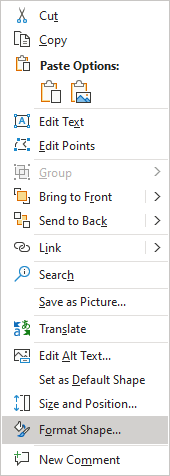
5. On the Format Shape pane, in the Shape Options tab:
- In the Fill section:
- Choose Picture or texture fill,
- Click on the Insert... button:
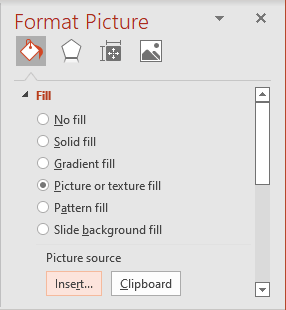
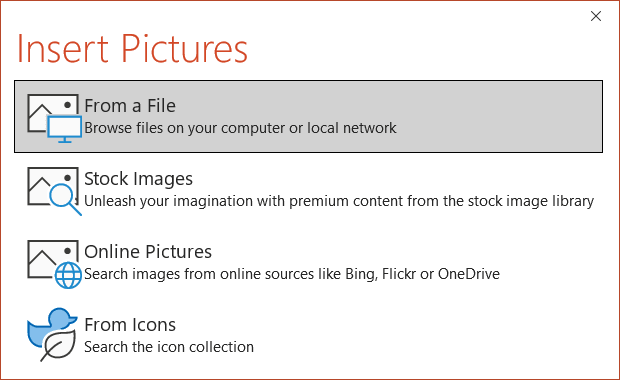
- In the Insert Pictures dialog box, choose the picture location, select the picture file, and then click Open or Insert:
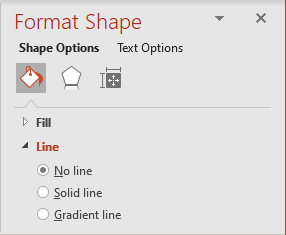
- In the Line section, select No line:
Add any other adjustments you would like.
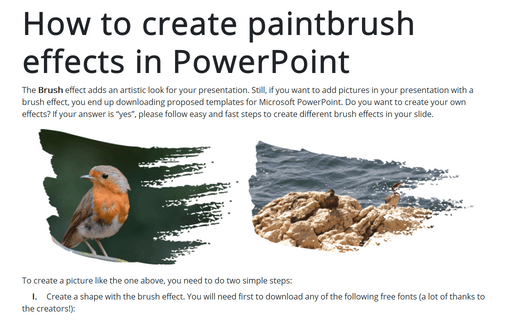
Note: Sometimes, you need to take additional steps after creating a simple shape from a letter to see a more interesting shape:
After step 3, you will see a very think shape (here was used font Papyrus), do the following:

a. Just duplicate this shape, make it smaller, and add a new oval shape between them:

b. Group them (see How to make modern picture design in PowerPoint slide).
See also this tip in French: Comment créer des lettres avec des images dans des diapositives.
