How to create drops or waves effects in PowerPoint

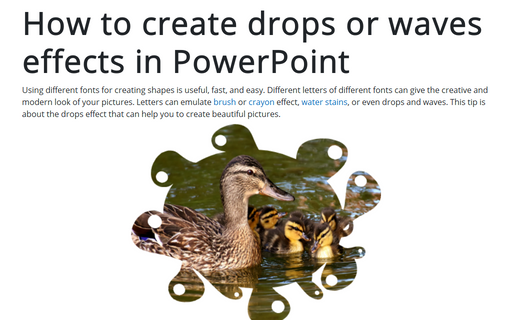
To create a picture like the one above, you need to do two simple steps:
I. Create a shape with the drops or waves effect. You will need first to download any of the free fonts (a lot of thanks to the creators!). In this example was used the font:
II. Crop the picture to the shape.
To create a shape with the drops effect, do the following:
1. Add any shape to the slide, for example, an oval:
1.1. On the Insert tab, in the Illustrations group, select Shapes:

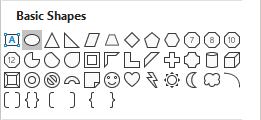
1.2. In the Shapes list, from the Basic Shapes group, select and add to the slide the Oval shape:

2. Add the letters from the font you have chosen in the front of the shape, for example:

3. Add more letters with different rotations:

And even more:

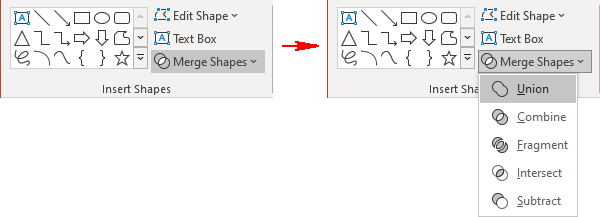
4. Select the shape and the letter and on the Shape Format tab, in the Insert Shapes group, choose the Merge Shapes dropdown list and then select Union:

You will see a new shape:

5. Group these shapes, format them and add pictures (see How to make modern picture design in PowerPoint slide for more details).
Add any other adjustments you like.
See also this tip in French: Comment créer des effets de gouttes ou de vagues dans PowerPoint.

