How to create an out of bound effect in PowerPoint

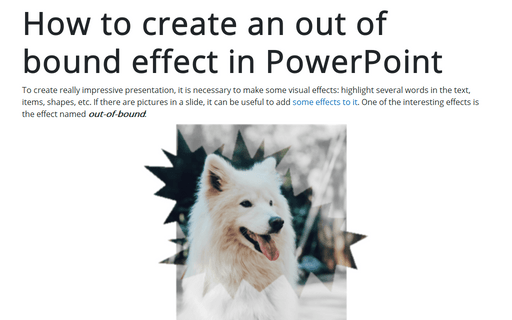
The main feature of this effect is to position the same picture in different frames.
To create a picture like the one above, do the following:
1. Create a rectangle shape as a base
1.1. On the Insert tab, in the Illustrations group, click the Shapes button:

1.2. In the Shapes drop-down list, in the Rectangles group, select Rectangle:

2. Add a picture to the base shape
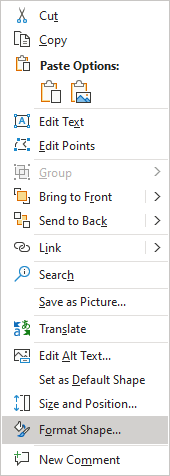
2.1. Right-click on the shape and choose Format Shape... in the popup menu:
2.2. On the Format Shape pane, on the Shape Options tab, in the Fill & Line group, in the Fill section:
- Choose Picture or texture fill,
- Click on the Insert... button:
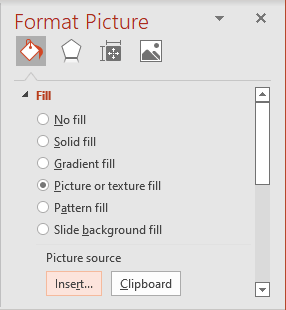
- In the Insert Pictures dialog box, choose the picture location, select the picture file, and then click Open or Insert:
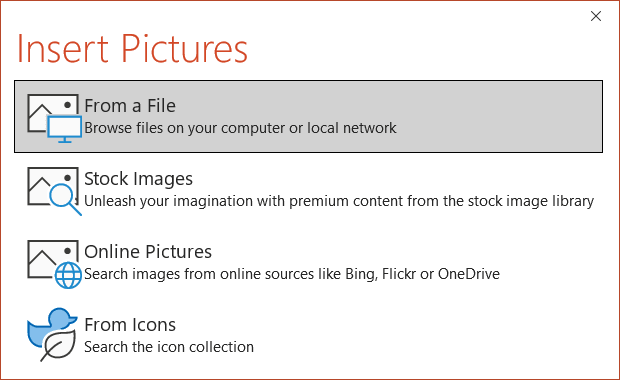
PowerPoint shows a picture inside the shape:

3. Duplicate the base shape for the second frame
4. Create the first frame for the out-of-bound effect
4.1. Add any shape to the slide or create a custom shape.
You can use any standard shape, a combination of some shapes, or create your own custom shape (see How to create a custom shape).
In this example was used the shape Explosion: 14 Points from the Stars and Banners group:

The shapes were rotated and positioned as one big explosion:

See also How to combine shapes to create a custom shape.
Note: For the future steps, we recommend using only border lines for the new shape: on the Format Shape pane, on the Shape Options tab, in the Fill & Line group, in the Fill section, choose No fill.
4.2. Position the first shape in the front of the shape with the picture.
For this example:

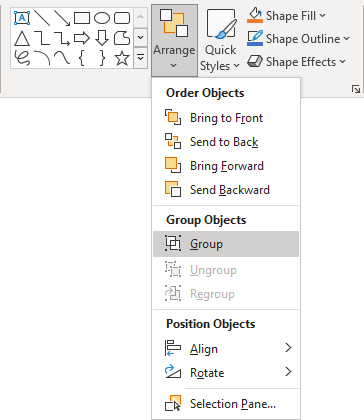
4.3. Select both shapes and group them by doing one of the following:
- On the Home tab, in the Drawing group, select the Arrange drop-down list, then click the Group command:
- On the Shape Format tab, in the Arrange group, click the Group command:

- Right-click one of the objects and choose Group -> Group from the popup menu:
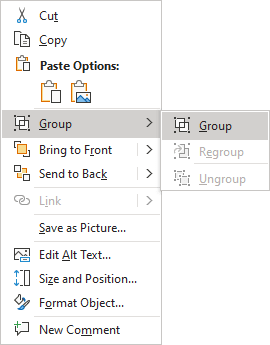
PowerPoint puts a single box around the shapes instead of a separate box around each object.
4.4. Select the base shape in the group and on the Format Shape pane, on the Shape Options tab, in the Fill & Line group, in the Fill section, choose No Fill:

5. Create the second frame for the picture
5.1. Add the second shape to the slide.
It should be smaller than the first one on some sides. In this example was used the standard shape Rectangle from the Rectangles group.
5.2. Position the second shape in the front of the shape with the picture.
For this example:

5.3. Select both shapes and group them.
5.4. Select the base shape in the group and on the Format Shape pane, on the Shape Options tab, in the Fill & Line group, in the Fill section, choose No Fill.
5.5. Add any artistic effect to the group, for example:
A. On the Picture Format tab, in the Adjust group, click Artistic Effects:

Select the effect you like from the Artistic Effects drop-down list. For example, the Photocopy effect:

B. On the Picture Format tab, in the Adjust group, click Color:

Under Recolor, select the color you like or create your own by clicking More Variations:

6. Create an out-of-bound effect
Select both frames and position them to create the out-of-bound effect. We recommend group both frames.
