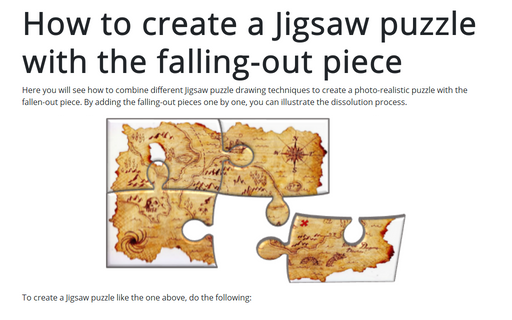
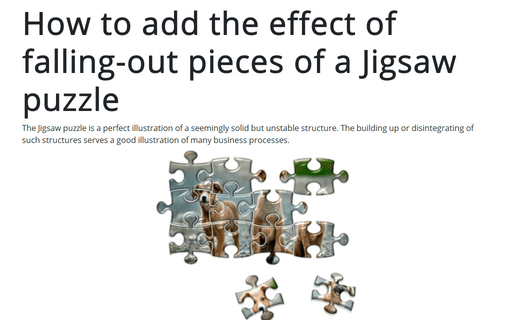
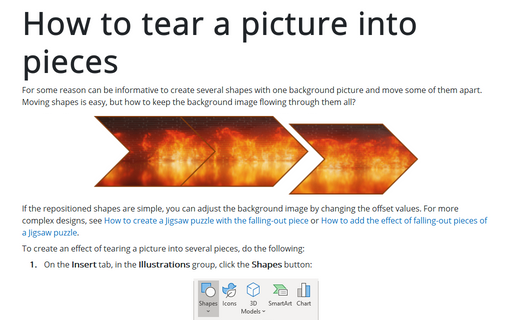
How to create a Jigsaw puzzle with the falling-out piece

To create a Jigsaw puzzle like the one above, do the following:
1. Create a Jigsaw puzzle chart
For example:

2. Add one picture to the shapes
2.1. Select all pieces of one puzzle and group them by doing one of the following:
- On the Home tab, in the Drawing group, select the Arrange drop-down list, then click the Group command:
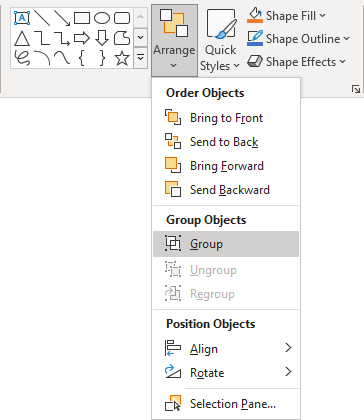
- On the Shape Format tab, in the Arrange group, click the Group command:

- Right-click one of the objects and choose Group -> Group from the popup menu:
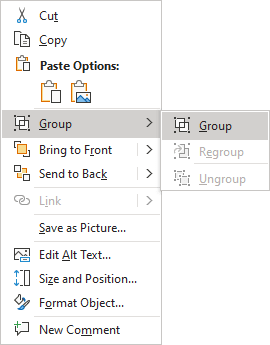
PowerPoint puts a single box around the shapes instead of a separate box around each object.
2.2. Right-click on the group and choose Format Shape... in the popup menu:
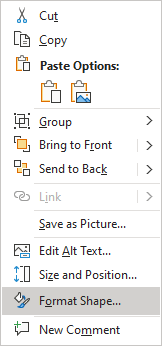
2.3. On the Format Shape pane, on the Shape Options tab, in the Fill & Line group, in the Fill section:
- Choose Picture or texture fill,
- Click on the Insert... button:
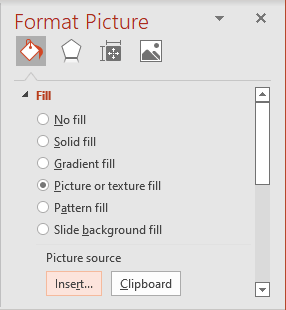
- In the Insert Pictures dialog box, choose the picture location, select the picture file, and then click Open or Insert:

PowerPoint shows a picture inside the grouped shapes:

3. Move one piece aside
If you try to move any piece, you will see an incorrect picture because PowerPoint stretches the image across the group:

To create a perfect moving effect, do one of the following:
A. The first way is to use offsets.
See How to tear a picture into pieces. This way should be used if the picture and shapes are not complex and it is easy to pick values for offsets.
B. The way to use the option Tile picture as texture is easier because this example uses a piece from the corner.
Note: This way can be used if the piece is selected from any corner, edge, or center of the puzzle.
B.1. Right-click on the group and choose Format Shape... in the popup menu.
B.2. On the Format Shape pane, on the Shape Options tab, in the Fill & Line group, in the Fill section, select the appropriate values in the Offset fields:
- Select the option Tile picture as texture,
- Type or select appropriate offsets in fields Offset X and Offset Y if it is necessary,
- Type or select appropriate values in the Scale X and Scale Y fields if it is necessary:

- Choose the necessary Alignment:

B.3. Select the shape that should look like the fallen piece, cut it out of the group by clicking Ctrl+X, and then paste it in the right place by clicking Ctrl+V.
The piece should look perfect; it keeps all values of offsets, scales, and alignment:

C. More complex way is to use the addition shape.
See How to add the effect of falling-out pieces of a Jigsaw puzzle. This way should be used if the piece is not selected from the corner, edge, or center of the puzzle. So, it is complex to pick any alignment.
4. Add rotation for the shape
On the Format Shape pane, on the Shape Options tab, in the Effects group, in the 3-D Rotation section, select the appropriate values in the Rotation fields:

Make any other adjustments you like.
