How to add the effect of falling-out pieces of a Jigsaw puzzle

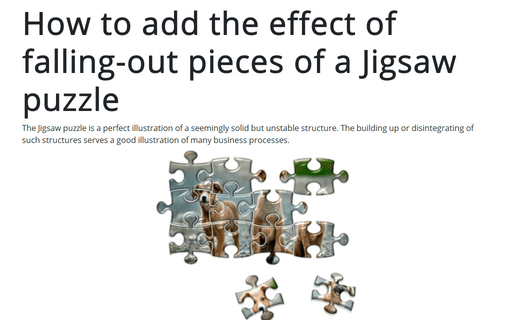
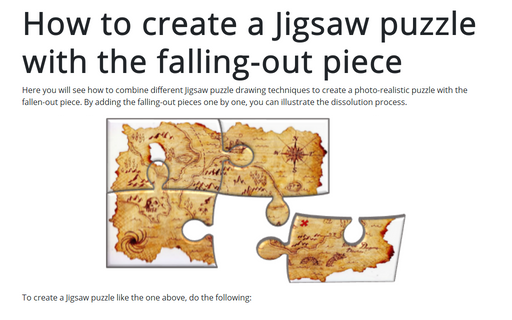
To create a Jigsaw puzzle with falling-out pieces like the one above, do the following:
1. Create a rectangle shape as a base of the puzzle
1.1. On the Insert tab, in the Illustrations group, click the Shapes button:

1.2. In the Shapes drop-down list, in the Rectangles group, select Rectangle:

2. Create a Jigsaw puzzle chart
For example:

3. Group added rectangle and puzzle shapes
3.1. Select the rectangle and all pieces of one puzzle.
3.2. Group selected shapes by doing one of the following:
- On the Home tab, in the Drawing group, select the Arrange drop-down list, then click the Group command:
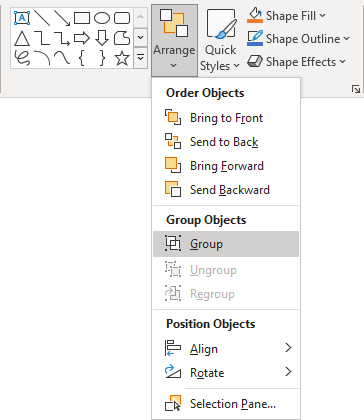
- On the Shape Format tab, in the Arrange group, click the Group command:

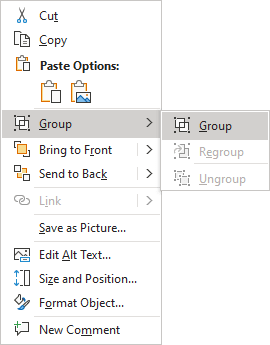
- Right-click one of the objects and choose Group -> Group from the popup menu:
PowerPoint puts a single box around the shapes instead of a separate box around each object.
4. Add one picture to the shapes
4.1. Right-click on the group and choose Format Shape... in the popup menu:
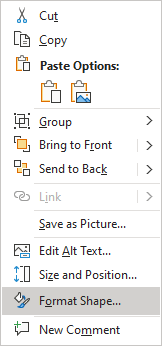
4.2. On the Format Shape pane, on the Shape Options tab, in the Fill & Line group, in the Fill section:
- Choose Picture or texture fill,
- Click on the Insert... button:
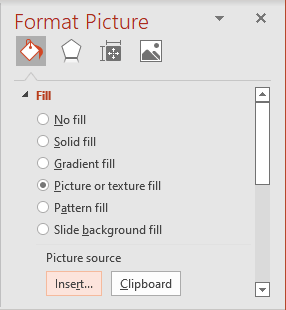
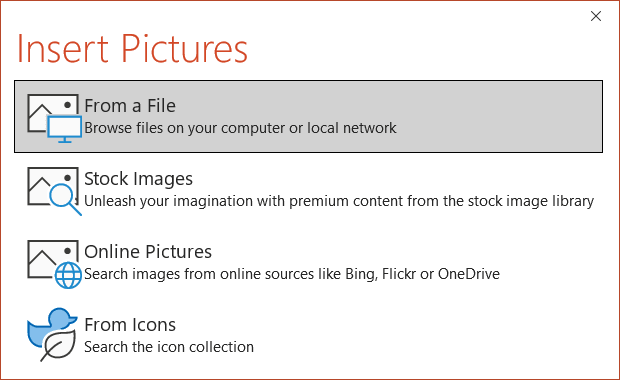
- In the Insert Pictures dialog box, choose the picture location, select the picture file, and then click Open or Insert:
PowerPoint shows a picture inside the grouped shapes:

5. Format rectangle
5.1. Select the rectangle, right-click on it and choose Format Shape... in the popup menu.
5.2. On the Format Shape pane, on the Shape Options tab, in the Fill & Line group:
- In the Fill section, choose No fill,
- In the Line section, choose No Line:
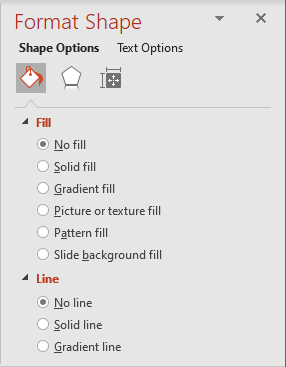
The rectangle will look like a transparent field around the puzzle.
6. Move a piece aside
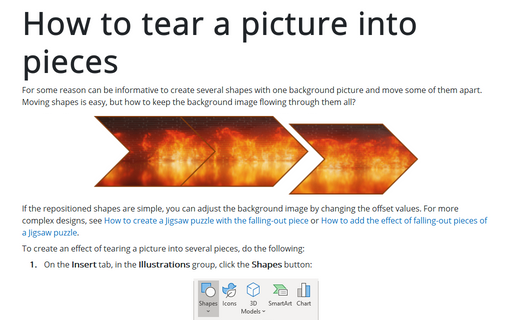
If you try to move any piece, you will see an incorrect picture on it:

To create a perfect moving effect, do the following:
6.1. Copy grouped shape with a rectangle:

6.2. From the first group, delete a piece that should be shown as falling.
6.3. From the second copy, delete all puzzle pieces except the falling one. The rectangle should be kept:

So, the piece shows exactly the same picture as if it were in the main picture.
7. Move another piece aside
If it is necessary, repeat step 6 for any other piece.
8. Format pieces
8.1. Select a group of a rectangle and a shape.
8.2. Right-click on the selection and choose Format Shape... in the popup menu.
8.3. On the Format Shape pane, on the Shape Options tab, in the Effects group, in the 3-D Rotation section, select the appropriate values in the Rotation fields:

Make any other adjustments you like.
