How to import Contacts from a CSV file into Outlook
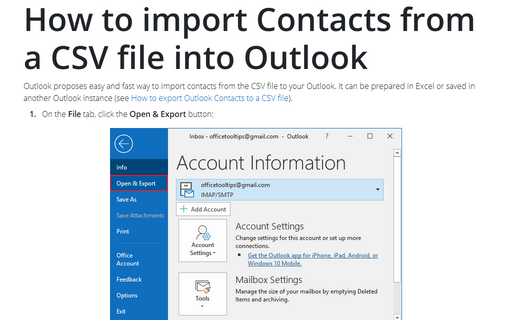
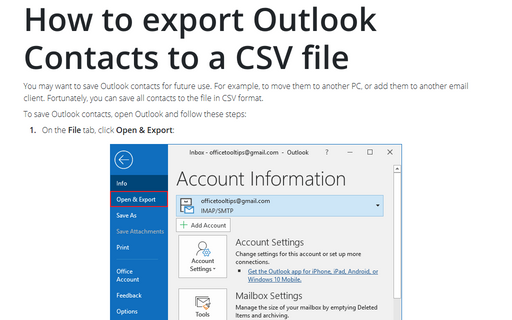
1. On the File tab, click the Open & Export button:

2. On the Open pane, click the Import/Export button:

3. In the Import and Export Wizard dialog box, choose the Import from another program or file option, and then click Next >:

4. In the Import to a File dialog box:
4.1. Choose the Comma Separated Values option, and then click Next >:

4.2. Click the Browse... button:

- In the Browse dialog box, choose the CSV file that contains the contacts that you want to import.
- Choose one of the options:
- Replace duplicates with items imported – select this option only if you are sure that imported data is more recent or more complete.
- Allow duplicates to be created – select this option to keep all duplicates.
- Do not import duplicate items – select this option to add just new data from the imported file.
- Click Next >.
4.3. Select the Outlook folder into which you want to import the Contacts. It can be the Сontacts folder in the current account, or a Contacts folder in any of other folders.

Click Next >.
4.4. If it is necessary, click the Map Custom Fields... button:

In the Map Custom Fields dialog box, map all columns from the CSV file to the fields of the Outlook address book. Outlook automatically maps some fields; change these if they are not mapped correctly.
To map a field, drag the Value to the desired Field:

After mapping, click OK, and then in the Import a File dialog box, click the Finish button to begin the import process.

