How to Cc and Bcc in Outlook
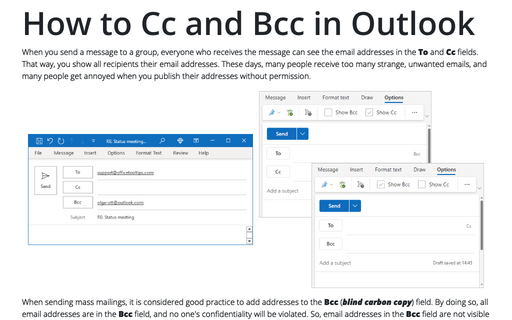
When sending mass mailings, it is considered good practice to add addresses to the Bcc (blind carbon copy) field. By doing so, all email addresses are in the Bcc field, and no one's confidentiality will be violated. So, email addresses in the Bcc field are not visible to the recipients of the To and Cc fields and each other. In everything else, the Bcc field works like the To and Cc fields in Outlook.
Display and hide the Bcc field in Outlook for Windows
You will not find the Bcc field in the New Message window by default. To show or hide the Bcc field in Outlook for Windows, in a new, a reply or forwarded message, on the Options tab:
- If you use the Simplified ribbon (see more about customizing ribbons), click the Bcc button (if you don't see it on the ribbon, click the More commands button - three points to the very right of the ribbon buttons):

- If you use the Classic ribbon, in the Show Fields group, click the Bcc button:

Note: To hide the Bcc button, click it again on the Options tab. If the Bcc button is not highlighted on the ribbon, the Bcc field is hidden in the message. Conversely, if you see the Bcc field in a message, the corresponding button is highlighted on the ribbon.
The Bcc field in the message appears below the Cc field:

- In the Bcc field, type the recipient address or addresses you want to hide from other recipients.
- In the To field, type at least one address. It can be your address if you send only blind message copies.
The Bcc field allows the sender to protect the privacy of the recipients. The regular To and Cc recipients do not see Bcc recipients, and Bcc recipients cannot receive their replies to the original email. Bcc recipients see the To and Cc recipients and can reveal their personalities unintentionally. If the Bcc recipient uses the Reply All command in Outlook, all other recipients except other Bcc's are automatically added to the To and Cc fields and get the reply.
Notes:
- After pressing the Bcc button, all subsequent new, reply, or forwarded messages will contain the Bcc field. To hide this field, create a new message and click the Bcc button on the Options tab.
- Outlook rules allow you to automatically add a Cc recipient to emails you send but not Bcc recipients.
Display the Cc and Bcc fields in Outlook for Web
When you create a new message, reply, or forward in Outlook for Web, use any of the following ways to display both or any of the Cc and Bcc fields:
1) The simplest way: in a message, you easily find the Cc and Bcc fields:

To show the Cc or Bcc fields in Outlook for Web, just click both or any of them:

Note: To hide the displayed field, on the Options tab, deselect the appropriate checkbox:

2) Use the ribbon: in a message on the Options tab:
- If you use the Simplified ribbon (see more about customizing ribbons), select the Cc and Bcc checkboxes as shown above.
- If you use the Classic ribbon, in the Show Fields group, select the Cc and Bcc checkbox:

Display the Bcc field for all outgoing messages in Outlook for Web
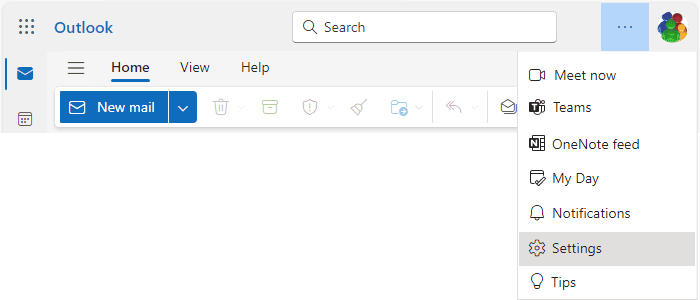
You can customize Outlook for Web to display the Bcc field for all outgoing messages. To customize Outlook for Web, open the Settings dialog box by doing one of the following:
- Click on the
 Settings button in the upper right corner of the page:

or

- On the View tab, click the Settings button:

In the Settings dialog box, on the Mail tab, in the Compose and reply group:
- Under Message format, select the Always show Bcc checkbox:

- Click the Save button to apply changes.

