Screenshots in Windows 10 without Print Screen (PrtScn)
- Press Windows+Shift+S to create screenshots very easily and fast.
- Run Snapping Tool to create simple screenshots in Windows 10.
- Using delays in the Snapping Tool, you can create a screenshot with tooltips or other effects that can be displayed only if the mouse right above the object.
Screenshots using Windows+Shift+S
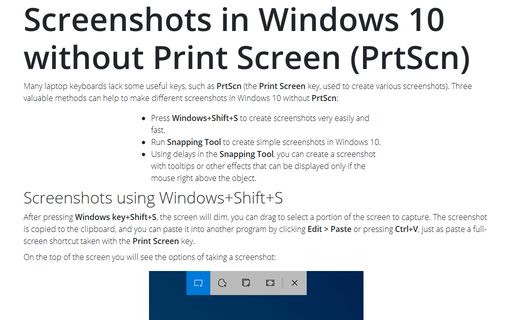
After pressing Windows key+Shift+S, the screen will dim, you can drag to select a portion of the screen to capture. The screenshot is copied to the clipboard, and you can paste it into another program by clicking Edit > Paste or pressing Ctrl+V, just as paste a full-screen shortcut taken with the Print Screen key.
On the top of the screen you will see the options of taking a screenshot:

 Rectangular Snip: the option by
default offers to select the rectangular capture:

 Freeform Snip: choose this option to
create a freeform capture:

 Window Snip: use this option to capture
the full active window:

 Full-Scree Snip: click this option to
create a full-screen screenshot:

Notes:
- Windows+Shift+S is available only in recent versions of Windows 10. If you don’t see the appropriate reaction after pressing Windows+Shift+S, check the latest updates for your Windows system.
- Windows+Shift+S can’t capture some useful elements like ToolTips, or other mouse hover effects (see the appropriate tool below).
Screenshots using Snapping Tool
The Snipping Tool is a part of Windows for a long time. This tool can take screenshots of a rectangular area, a free-form area, an open window, or the entire screen. You can annotate your snips with different colored pens or a highlighter, even remove some security-sensitive information with rubber, save it as an image or HTML (MHT) file, or copy-paste it to any other application.
To create a screenshot using the Snipping Tool, do the following:
1. Run the Snipping Tool in Windows by any of your favorite methods and click the New button.
2. Click the New button to freeze a screen:

3. Using the mouse, create the screenshot.
The screenshot will appear in the Snipping Tool window.
Use different modes to create a screenshot
By default, the Snapping Tool uses a rectangular area to take a screenshot. If it is needed, in the Mode dropdown list, choose the type of screenshot shape you want:

- Use the Rectangular Snip option, used by default, to select the rectangular capture:

- Use the Free-form Snip option to create a freeform capture:

- Use the Window Snip option to choose the window that is currently active in your Windows
system and capture this entire window:

Note: The Snapping Tool captures the window how it is visible on your monitor. So, if you take a screenshot of a window that overlaps with another window, you will see the screenshot as-is:

- Use the Full-Screen Snip option to create a full-screen screenshot.
Use delays to create a tooltip screenshot
The Snipping Tool has a useful Delay option that allows capturing screenshots of popup menus and tooltips. By default, the Delay option is disabled:

From the Delay dropdown list, select the number of seconds you’d like to wait until your screenshot is taken.
You can’t create a screenshot of tooltips in any Microsoft Office application without delay. For example, in Microsoft Excel:

If you select some number of seconds as a delay, after clicking the New button, the screen will not immediately freeze. Instead, you will have the chosen number of seconds to set up your screenshots. You can use this time to open the popup menu or tooltip you want to capture:

Once your seconds have passed:
- If you selected the Rectangular Snip or Free-form Snip on the Mode dropdown list, the screen would freeze, and you can create your snip.
- If you chose a Window Snip or Full-Screen Snip in the Mode dropdown list, it would capture the snip immediately.

