How to use Camera tool in Excel
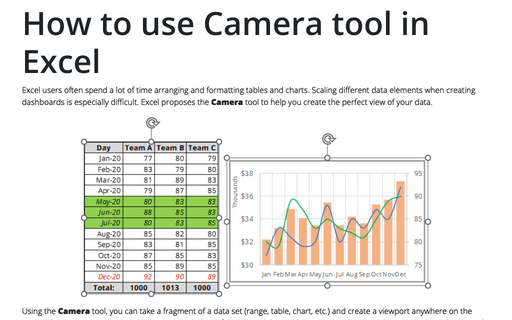
Using the Camera tool, you can take a fragment of a data set (range, table, chart, etc.) and create a viewport anywhere on the spreadsheet. A nice property is the interactive update of the original data in this viewport. Thus, any changes made to the original data set are reflected in the image captured by the camera.

In addition, the inserted image can be resized and formatted using Picture tools.
Where is a Camera tool
The Camera tool isn't included in the standard ribbons of Excel for Microsoft 365, but you can add it:
- To your own ribbon or group (see how to create your own menu):

- To the Quick Access Toolbar (see Adding commands to the Quick Access Toolbar):

Use a Camera tool on the table
To create a new picture from your table, do the following:
1. Select the data that you want to show in the image.
For example:

2. Click on the Camera button.
3. Select the area where you want to paste the image.
4. Position the image where you want:

You can change the image parameters and position it anywhere you need. When you change something in the source table, it will be changed in the screenshot too:

Note: We strongly recommend avoiding using the Camera Tool for charts. It works as expected for static charts, but Excel still generates errors when you resize or move the source chart.
Use a Camera tool for the chart
To create an image from the chart, you need to position it in some cells and use the Camera tool for these cells. You can change the width of gridlines or even turn off gridlines in Excel.
For example:
- The selected cells:

- The image created by the Camera tool:

Be careful! If you change the position of that chart, the image will show the underlying data cells, not the chart!

See also this tip in French: Comment utiliser l'outil Appareil photo dans Excel.

