Convert workbooks to HTML format
Note that the Save As Web Page function produces a lot of extra code. We recommend using third-party applications or websites to convert the Excel workbook or spreadsheet to clean HTML.
If you create a graphic in Excel using Shapes, SmartArt, or WordArt, you can save the graphic as a separate file for use in another program. Unfortunately, Excel doesn't provide a direct way to export graphics, but here's a useful trick – save the file as a Web page.
If you want to convert an Excel workbook or spreadsheet to the HTML format, you can save it using the Save As pane or the Save As dialog box that provides more options.
Using the Save As pane (simplest way)
In the File tab, click Save As (or Save a Copy, if you open the document from any non-local storage), then from the File type drop-down list:
- Select Single File Web Page (*.mht, *.mhtml) to create a MIME HTML file that contains all required files,
- Select Web Page (*.htm, *.html) to create a static web page with external files:

Note: After clicking the Save button, Excel may warn about the impossibility to keep all Excel functionalities in the Web format:

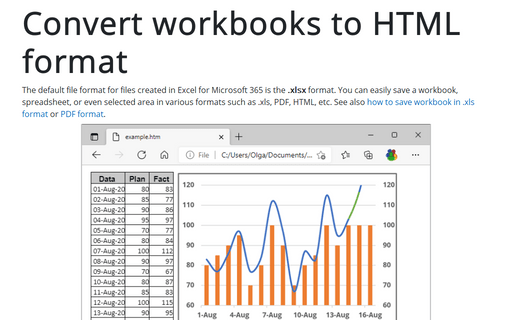
For example, the entire workbook is saved as an HTML:

Using the Save As dialog box
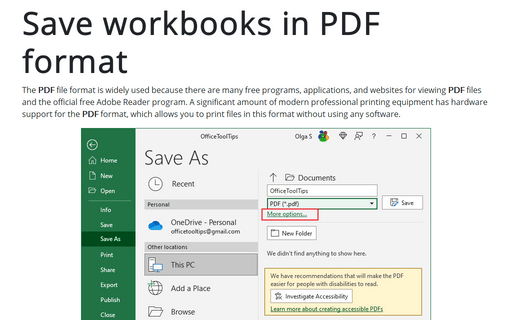
In the File tab, click Save As, then click Browse to open the Save As dialog box (see how to open Save As dialog box).
In the Save As dialog box:
- From the Save as type list, select the Web Page type:

- If you want to create an HTML page with all sheets, leave the Entire Workbook option selected. You can select the Selection option if you have selected an area or prefer to include only one sheet in the HTML file.
- Click the Publish... button to specify sheets, the selected area, etc. In the Publish as Web Page dialog box:
- From the Choose dropdown list, choose what you want to include into Web page: Entire workbook, data range, or some sheet:

For some items, Excel allows you to specify additional selections. For example, if you choose the Range of cells option, you can specify data range:

- Click the Change... button to specify the Web page title if you prefer something other than the name of the Excel workbook.
- Click the Browse... button to change the Web page location.
- Select the AutoRepublish every time this workbook is saved checkbox to create an automatically updated Web page.
- Select the Open published web page in browser checkbox to open an HTML file after creation.
- From the Choose dropdown list, choose what you want to include into Web page: Entire workbook, data range, or some sheet:
For example, only one sheet of the workbook is saved as HTML:

HTML file and its folder
After clicking the Save or Publish button, in the selected location, Excel creates an HTML file and the new folder with all pictures from the specified area:


Notes:
- Some charts, images, and other objects can be created twice in the original and compressed or cropped formats, as shown in the spreadsheet.
- When you delete the HTML file in Explorer, the corresponding folder is removed automatically.


