Three different ways for printing a selected area
 or
or

Select cells to print
The easiest way to print a range of cells is to select cells you want to print and on the Print tab, in the Settings group, in the Print Area dropdown list, select Print Selection:
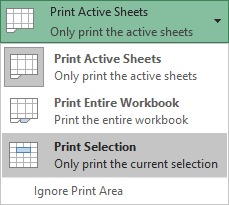
Excel will print the selected area of the spreadsheet, for example:

Define the print area in the Page Setup dialog
The advanced way allows to add column headers or/and labels to the selected area is to define the print area in the Page Setup dialog:
1. On the Page Layout tab, in the Page Setup group, click Print Titles:

2. In the Page Setup dialog box, on the Sheet tab, in the Print area field:
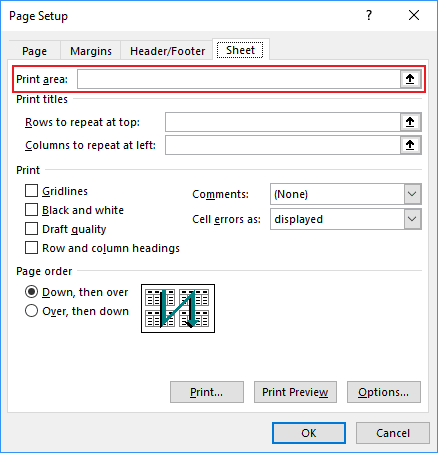
- Enter the range of cells you want to print or
- Click on the arrow and then in the Page Setup - Print area dialog box, select the range of
cells you want to print, for example:

After selecting the print area, click Enter or click the arrow in the Page Setup - Print area dialog box:

See Print column headers or spreadsheet labels on every page for more details.
Create the Print Area in Excel
This way is useful when you have several different ranges of cells you want to print. When you save your workbook, the Print Area of your workbook is saved as well.
1. Select the range of cells you want to print.
2. On the Page Layout tab, in the Page Setup group, click on the Print Area dropdown list:

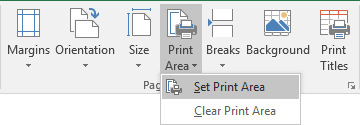
3. In the Print Area dropdown list, click Set Print Area:
4. Select the second range of cells:

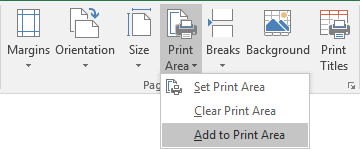
On the Page Layout tab, in the Page Setup group, in the Print Area dropdown list, select Add Print Area:
For this example:

Notes:
- If you click Clear Print Area on the Page Layout tab, in the Page Setup group,
in the Print Area dropdown list.
Excel removes all the print areas on your worksheet.
- If you want to see all Print Areas in your workbook, select (enter the first letters and then
select) Print_Area in Name box:

Excel highlights all areas had been added to the Print Area.
See also this tip in French: Trois façons différentes d'imprimer une zone sélectionnée.
