Easily organize shapes in Word
Word
365
Every time you add, move or resize shapes (e.g., flowchart shapes), and very soon, it becomes tedious to
align them. Fortunately, Microsoft Word proposes Gridlines that can help to organize shapes and other
objects in your document.

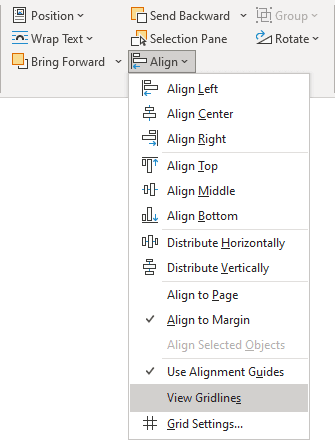
To turn on or turn off Gridlines in Word, do the following:
On the Layout tab, in the Arrange group, in the Align dropdown list, click View Gridlines:

To disable gridlines, uncheck View Gridlines.
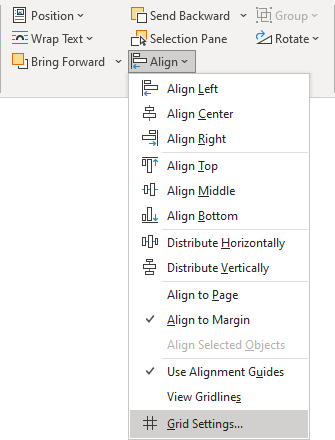
You can also change Grid Settings:
1. On the Layout tab, in the Arrange group, in the Align dropdown list, click Grid Settings...:

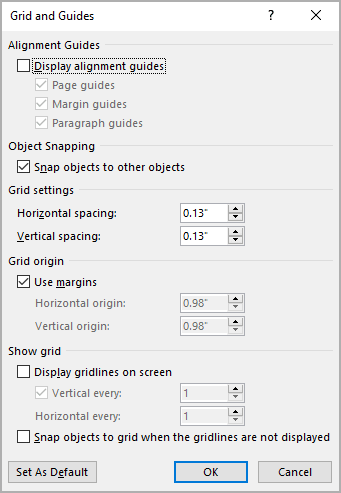
2. On the Grid and Guides dialog box:

- In the Grid settings section:
- Choose the spacing value that you want in the Horizontal spacing field to specify horizontal spacing.
- Choose the spacing value that you want in the Vertical spacing field to specify vertical spacing.
- In the Grid origin section:
- Uncheck the Use margins checkbox to extend the drawing grid to the edge of the document.
- Choose the appropriate margins, if you want, in the Horizontal origin and Vertical origin fields.
- In the Show grid section:
- Select the Display gridlines on screen checkbox to display only some gridlines.
- Select the number of gridlines that you want to display in the Vertical every or Horizontal every fields.
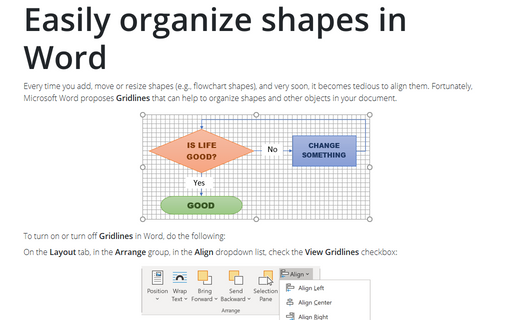
See also this tip in French: Comment organiser facilement des formes dans Word.

