How to create a timeline using SmartArt
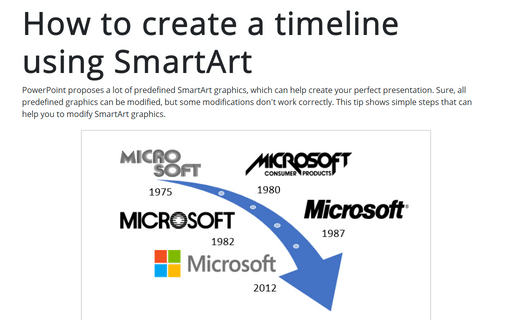
Modified SmartArt graphic that shows the timeline of Microsoft logo design changes (see https://en.wikipedia.org/wiki/Microsoft#Logo):

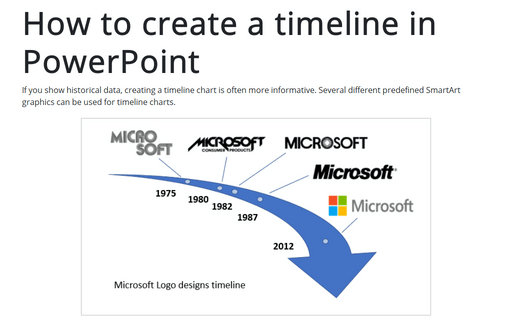
To create your own timeline, see how to create a timeline in PowerPoint:

To create a timeline chart using a predefined SmartArt graphic, do the following:
1. On the Insert tab, in the Illustrations group, click SmartArt:

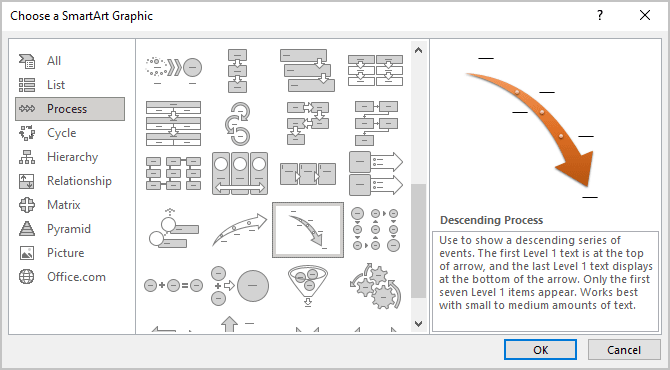
2. In the Choose a SmartArt Graphic dialog box, on the Process tab, and then select Descending Process:
3. For each milestone, do the following:
3.1. Select the shape in the SmartArt graphic, and then type your text.
Note: For best results, use this option after adding all the milestones you want.
3.2. Click [Text] on the Text pane, and then type your text:

Note: If the Text pane is not visible, select the SmartArt graphic and open it by:
- clicking the control:

For this example, it had been entered six labels (the last one is empty) just for design.
- clicking the Text pane button, on the SmartArt Design tab, in the Create Graphic group:

3.3. Copy text from another location or program, click [Text] on the Text pane, and paste your text.
4. When you try to modify the arrow, it can be more complex and even impossible for some modifications. To avoid these problems, do the following:
4.1. Select your SmartArt graphic:

4.2. On the SmartArt Format tab, in the Arrange group, select the Group dropdown list and then choose Ungroup:
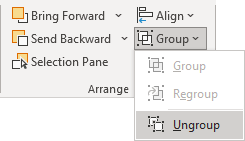
Note: After ungrouping elements of the SmartArt graphic, you can use them like usual shapes. To avoid problems with an arrow and small circle shapes, select them all and group them again.
5. For each milestone, do the following:
5.1. Choose the shape with the appropriate year.
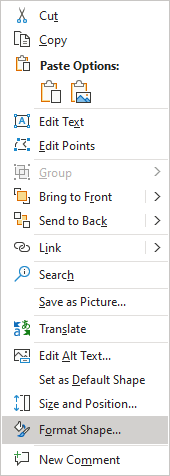
5.2. To add a picture for the shape, right-click on it and choose Format Shape... in the popup menu:
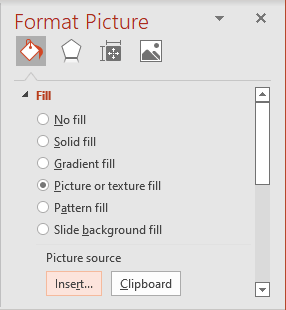
5.3. On the Format Shape pane, on the Shape Options tab, in the Fill & Line group, in the Fill section, select the Picture or texture fill checkbox and then click Insert... button:
5.4. In the Insert Pictures dialog box, choose the picture location, select the picture file, and then click Open or Insert:

5.5. On the Format Picture pane, on the Text Options tab, in the Textbox group, in the Text Box section, choose the alignment of the shape text and then try different margins to position the text below the picture:
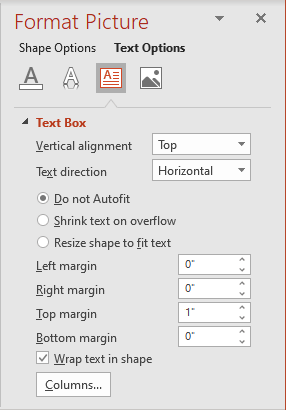
For example, text in the first shape:

6. Add any other adjustments to your slide.
See also this tip in French: Comment créer une frise chronologique à l'aide de SmartArt.
