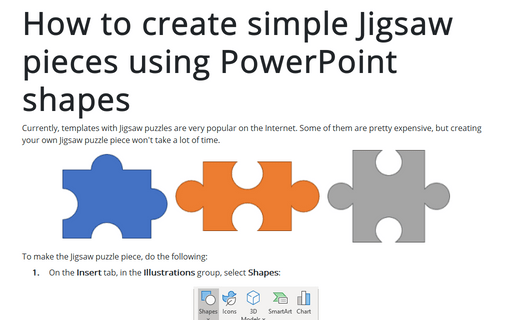
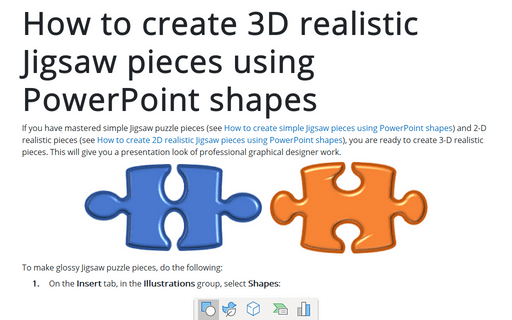
How to create simple Jigsaw pieces using PowerPoint shapes


To make the Jigsaw puzzle piece, do the following:
1. On the Insert tab, in the Illustrations group, select Shapes:

2. In the Shapes list, from the Rectangles group, select the Rectangle shape:
Add the rectangle shape to the slide:

3. To add different forms of holes and heads, do one of the following:
A. The very simple form of circle holes and heads:
A.1. On the Insert tab, in the Illustrations group, click the Shapes dropdown list and then choose the oval shape from the Basic Shapes group:
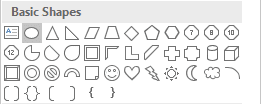
Add the oval shape to the slide and positioning them like you prefer:

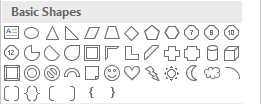
Note: Here and below had been used shapes from the Basic Shapes group of the Shapes list:
A.2. To create heads on the puzzle figure, just union these two shapes. To union shapes, do the following:
1. Select both shapes.
2. Under Drawing Tools, on the Format tab, in the Insert Shapes group, click on the Merge Shapes dropdown list, and choose Union:
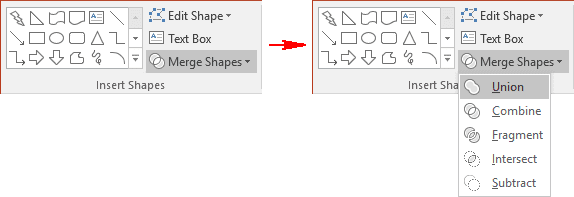
You will see a new head on the shape:

A.3. To create holes on the puzzle piece, just subtract the second shape from the first one. To subtract shapes, do the following:
1. Select the first shape that should be subtracted and then holding Ctrl, select the second shape.
2. Under Drawing Tools, on the Format tab, in the Insert Shapes group, click on the Merge Shapes dropdown list, and choose Subtract:
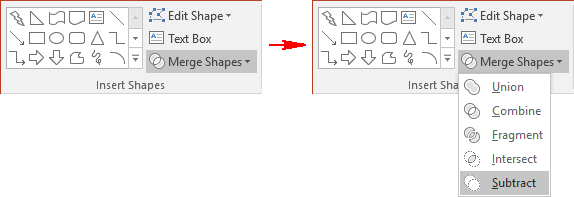
You will see the new hole on the shape:

B. The more realistic form of circle or teardrop holes and heads:
If you want to create more realistic heads and holes, you need to re-positioning them for making holes:
| For heads | For holes | |
|---|---|---|
| The positioning of the oval shape |  |
 |
| After union or subtract | 
|

|
You can also try, for example, the teardrop shape:
| For heads | For holes | |
|---|---|---|
| The positioning of the teardrop shape |  |
 |
| After union or subtract | 
|

|
See also this tip in French: Comment créer des pièces de puzzle simples à l'aide de formes PowerPoint.
