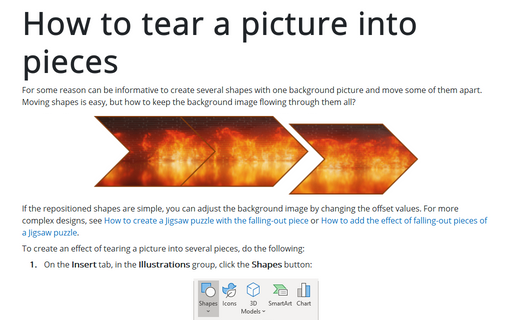
PowerPoint slide with several shapes and one picture

To create the slide like the one above, do the following:
1. On the Insert tab, in the Illustrations group, select Shapes:

2. In the Shapes list, from the Rectangle group, select and add to the slide several Rectangles shapes:

3. Positioning them like you want, for example:

Notes:
- To position shapes easily, you can use Grids and Gridlines.
To turn them on or off, on the View tab, in the Show group, check or uncheck Guides and/or Gridlines:

- To create squares, you can enter or choose width and height on the Shape Format tab in the Size group:

4. Add a picture to some of these shapes:
4.1 Select shapes that will show the picture, for example:

4.2. Do one of the following:
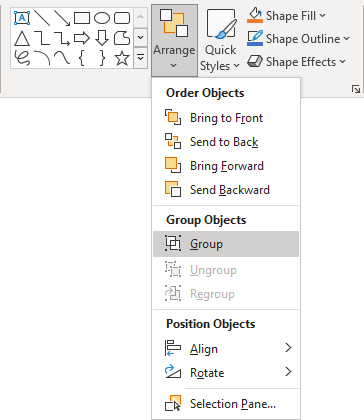
- On the Home tab, in the Drawing group, select the Arrange dropdown list, then click the Group command:
- On the Shape Format tab, in the Arrange group, click the Group command:

- Right-click one of the objects and choose Group -> Group from the popup menu:
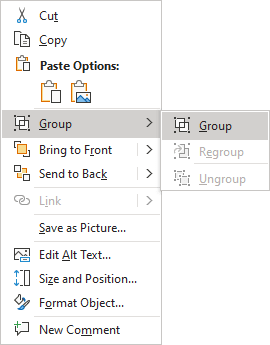
PowerPoint puts a single box around the objects instead of a separate box around each object:

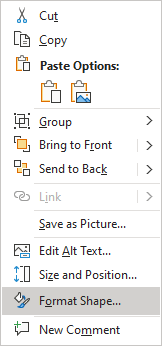
4.3. Right-click on the grouped shapes and choose Format Shape... from the popup menu:
4.4. On the Format Shape pane, on the Shape Options tab, in the Fill & Line group:
- In the Fill section:
- Choose Picture or texture fill,
- Click on the Insert... button:
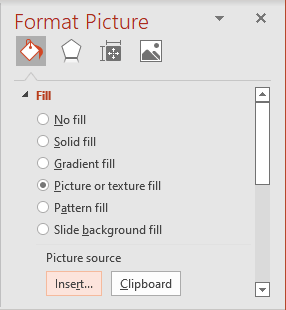
- In the Insert Pictures dialog box, choose the picture location, select the picture file, and then click Open or Insert:

- In the Line section, select No line:
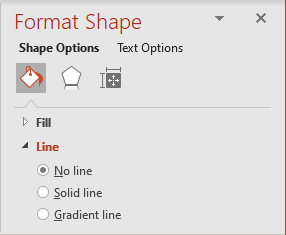
5. Change the color for the remaining shapes:
5.1. Select one of the shapes or all of them.
5.2. Right-click on the selection and choose Format Shape... from the popup menu.
5.3. On the Format Shape pane, on the Shape Options tab, in the Fill & Line group, in the Fill section, choose Solid fill and then select Color as you prefer:
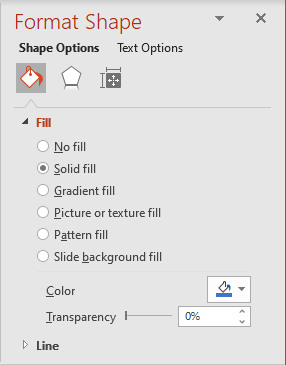
Add any other adjustments you like.
See also this tip in French: Comment créer une diapositive PowerPoint avec plusieurs formes et une image.

