How to lock objects from moving and resizing in PowerPoint
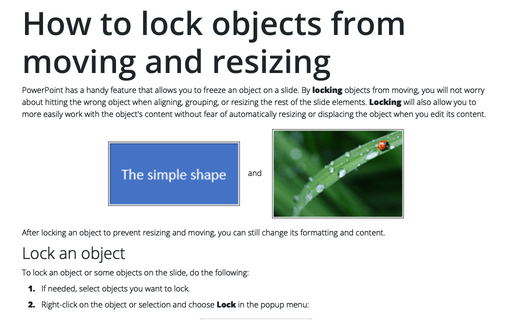
After locking an object to prevent resizing and moving, you can still change its formatting and content.
Lock an object
To lock an object or some objects on the slide, do the following:
1. If needed, select objects you want to lock.
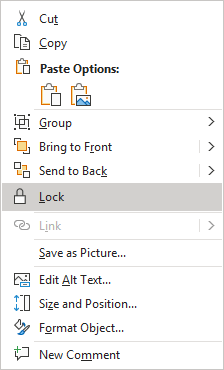
2. Right-click on the object or selection and choose Lock in the popup menu:

Lock objects using the Selection pane
If you have many objects on the slide, selecting and locking some of them can be difficult. You can use the Selection pane to facilitate your work:
1. Open the Selection pane by doing one of the following:
- On the Home tab, in the Drawing group, click Arrange:

From the Arrange dropdown list, click Selection Pane...:

- On the Shape Format tab, Picture Format tab, the SmartArt Format tab, or the Chart Format tab, in the Arrange group, click the Selection Pane button:

2. On the Selection pane, lock any object by clicking the Unlocked icon ![]() on the right:
on the right:

When you try to select a locked object to resize or modify it, you will notice:
- Unusual borders without handles for moving or changing an object. For example, a prominent border for the locked shape and picture:
 and
and

- Some commands for modifying the object on the ribbon tabs are grayed:

- Commands for resizing and moving are grayed on the Format *** pane:

Note: You cannot resize and move a locked object, but you can still apply custom formatting to them. For example, it is still possible to:
- Change and format text inside the locked object,
- Change a style of locked shape, picture, or text box,
- Apply effects to the locked objects,
- Etc.
Unlock an Object
To unlock an object, do one of the following:
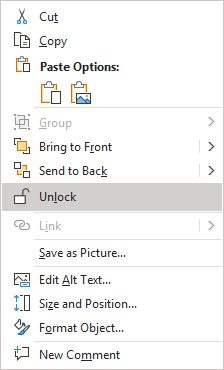
- Right-click the object and choose Unlock in the popup menu:

- Click the Locked icon
 on the Selection pane.


