How to create 3D realistic Jigsaw pieces using PowerPoint shapes


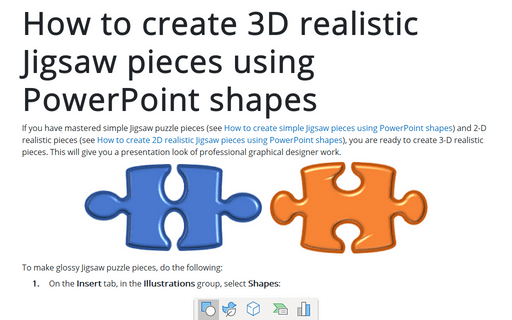
To make glossy Jigsaw puzzle pieces, do the following:
1. On the Insert tab, in the Illustrations group, select Shapes:

2. In the Shapes list, from the Rectangles group, select the Rectangle shape:

Add the rectangle shape to the slide:

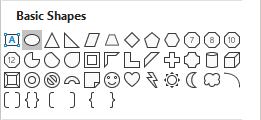
3. On the Insert tab, in the Illustrations group, click the Shapes dropdown list and then choose the oval shape from the Basic Shapes group:

Add two oval shapes to the slide, copy them, and format:

4. Union two of these shapes and subtract the other two of them to see the more glossy form of the shape (how to union or subtract shapes, see How to combine shapes to create a custom shape):
 or
or

5. Add heads and holes for this shape:
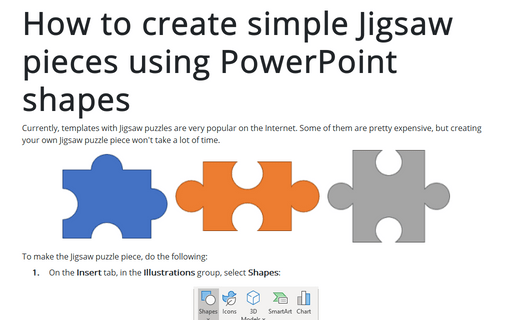
- To add simple heads and holes, see how to create simple Jigsaw pieces using PowerPoint shapes
- To add interesting heads and holes, see how to create 2D realistic Jigsaw pieces using PowerPoint shapes
6. After adding heads and holes, to add a 3D look to your puzzle piece, do the following:
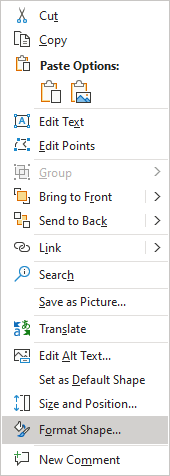
6.1. Right-click on the selected shape (your puzzle piece with heads and holes) and choose the Format Shape... in the popup menu:

6.2. On the Format Shape pane, on the Shape Options tab, in the Effects group, in the 3-D Format section, choose:
- The appropriate Top Bevel from the dropdown list:

You can also change the Width and Height for selecting bevel in the fields on the right of the dropdown list.
- The color and size of the Contour:

- The Material to take the lighting effect:

Add any other adjustments you prefer.
See also this tip in French: Comment créer des pièces de puzzle 3D réalistes à l'aide de formes PowerPoint.

