Easily organize shapes in Excel
Reorder shapes
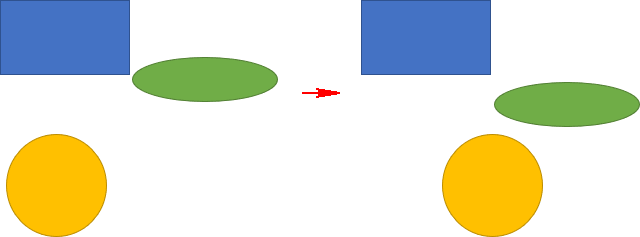
Shapes, like other objects on the worksheet such as charts, text boxes, SmartArt diagrams, etc., are stacked, i.e., are placed in the order one on one. Each newly added object is pushed onto the top of the stack, i.e., placed in front of all other spreadsheet objects. Thus, a large object can be placed over a smaller one, completely hiding it. Even if the objects do not intersect, they are still placed in some order - if you move them, it will be noticed that one of them overlaps the other.
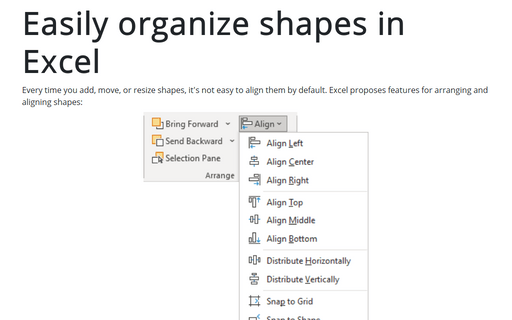
You can use the Selection pane to see and reorder all objects in the spreadsheet (see how to work with a large number of objects in Excel) or use the following commands:
- On the Shape Format tab, in the Arrange group:


- In the popup menu:


- Bring to Front -> Bring to Front moves the shape to the top of the stack - in front of all other objects in the spreadsheet
- Bring to Front -> Bring Forward moves the shape one level higher
- Send to Back -> Send to Back moves the shape to the bottom of the stack – behind all objects in the spreadsheet
- Send to Back -> Send Backward moves the shape one level lower
Note: You can select several objects and move them using the command above.
Align and space shapes
If you have several objects in a spreadsheet, it's natural to align them. Some users prefer to drag objects with the mouse or use the navigation arrow keys to move selected objects one pixel at a time. The fastest way to align and space objects is to let Excel do it for you:
To align multiple objects, do the following:
1. Select them (for example, by pressing Ctrl and clicking the objects).
2. On the Format Shape tab, in the Arrange group, click the Align button, then choose the command you need:

- Align Left aligns objects with the leftmost object in the selection:

- Align Center aligns objects along an axis halfway between the left and right extremes of the selected shapes:

- Align Right aligns objects with the rightmost object in the selection,
- Align Top aligns objects with the topmost object in the selection,
- Align Middle aligns objects along an axis halfway between the top and bottom extremes of the selected shapes:

- Align Bottom aligns objects with the bottommost object in the selection:

Note: After aligning the shapes, they remain selected, so dragging them to the right place is easy.
Use the Distribute Horizontally and Distribute Vertically commands to distribute three or more objects so that they are evenly spaced horizontally or vertically:

Excel offers very helpful features named Snap to Shape and Snap to Grid to organize shapes and objects:
- When Snap to Grid is turned on, the edges of the shape will 'snap' to the nearest grid line.
- Snap to Shape provides the same behavior, except shapes are snapped to the edges of other shapes.
To turn on or turn off both Snap to Grid and Snap to Shape, on the Page Layout tab, in the Arrange group, in the Align dropdown list, click the Snap to Grip or/and Snap to Shape:

- To snap shapes or other objects to the closest grid intersection, click Snap to Grip
- To snap shapes or other objects to grid lines that go through the vertical and horizontal edges of other shapes or objects, click Snap to Shape
Note: The option is selected if the element is highlighted in gray (as View Gridlines in the image above).
See also How to turn on and turn off gridlines in Excel and How to change width of gridlines in Excel.
See also this tip in French: Comment organiser facilement des formes dans Excel.

