How to create a hand-drawn oval shape in PowerPoint
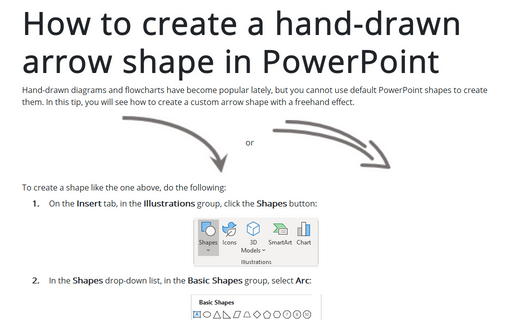
In this tip, you will see how to create a hand-drawn oval shape used in the hand-drawn flowchart.
 or
or

To create a shape like the one above, do the following:
1. On the Insert tab, in the Illustrations group, click the Shapes button:

2. In the Shapes drop-down list, in the Basic Shapes group, select Arc:

3. Place the first part of the new shape and create its bottom half by moving the orange points:

4. Insert the second part of the new shape:
4.1. On the Insert tab, in the Illustrations group, click the Shapes dropdown list, and then in the Basic Shapes group, select Arc.
4.2. Increase the size of the new Arc shape and place it to create a second part of the new shape:
 or
or

4.3. Change the second part by moving the orange point as you want. For example:
 or
or

5. Insert the third part as the second. For example:
 or
or

6. Select three parts of one shape and group them by doing one of the following:
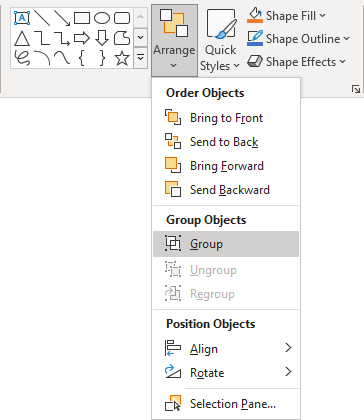
- On the Home tab, in the Drawing group, select the Arrange dropdown list, then click the Group command:

- On the Shape Format tab, in the Arrange group, click the Group command:

- Right-click one of the objects and choose Group -> Group from the popup menu:

PowerPoint puts a single box around the objects instead of a separate box around each object:

7. Right-click on the new shape and choose Format Shape... from the popup menu.
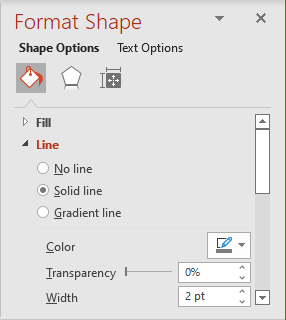
8. On the Format Shape pane, on the Shape Options tab, in the Fill & Line group, in the Line section, choose Solid line and then:
- Select Color as you prefer,
- Select Width as you prefer:

Add any other adjustments you like.

